
GE Washing Machine Making Loud Noises? A Guide to Identifying and Solving the Problem
Is your GE washer causing your laundry room to sound like an active war zone? Loud, strange noises during a wash cycle can make anyone leap over the couch, but it's often a sign that a small, fixable problem is brewing. Before you panic and think your machine is on its last leg, let's play a little detective work to figure out what's going on. The type of sound your washer is making can be a huge clue to what needs to be done. We’ll cover the most common noises and walk you through some simple steps to diagnose the issue.
Decoding the Noise: What Your Washer Is Trying to Tell You
Different sounds point to different problems. Let's break down the most common culprits.
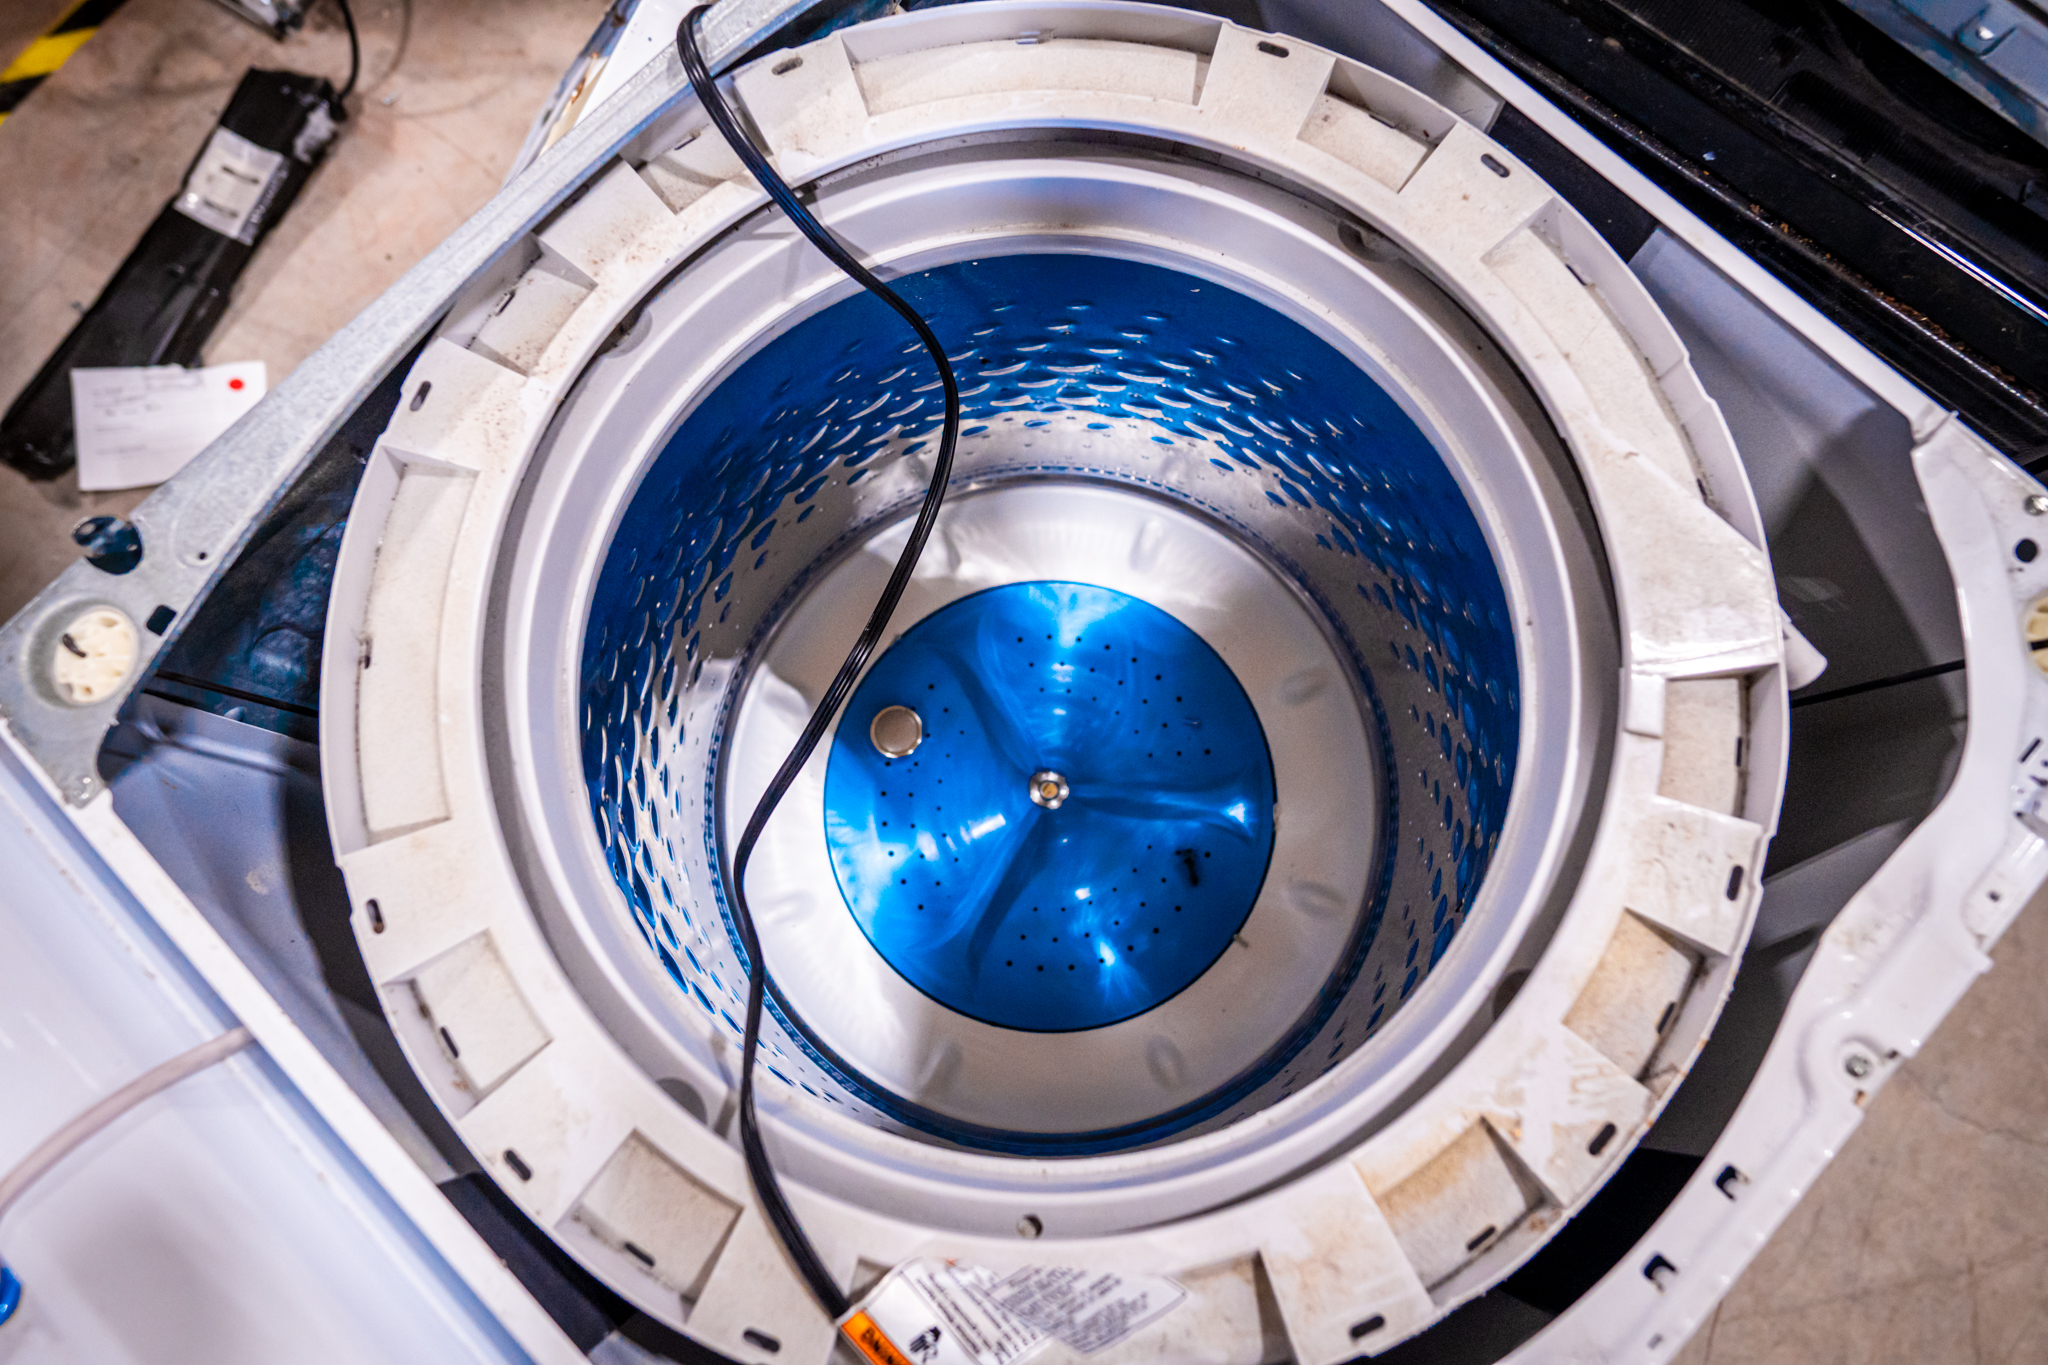
Rattling or Clunking
-
✓
The Cause: This is often the sound of a foreign object that's found its way into the drum.
-
✓
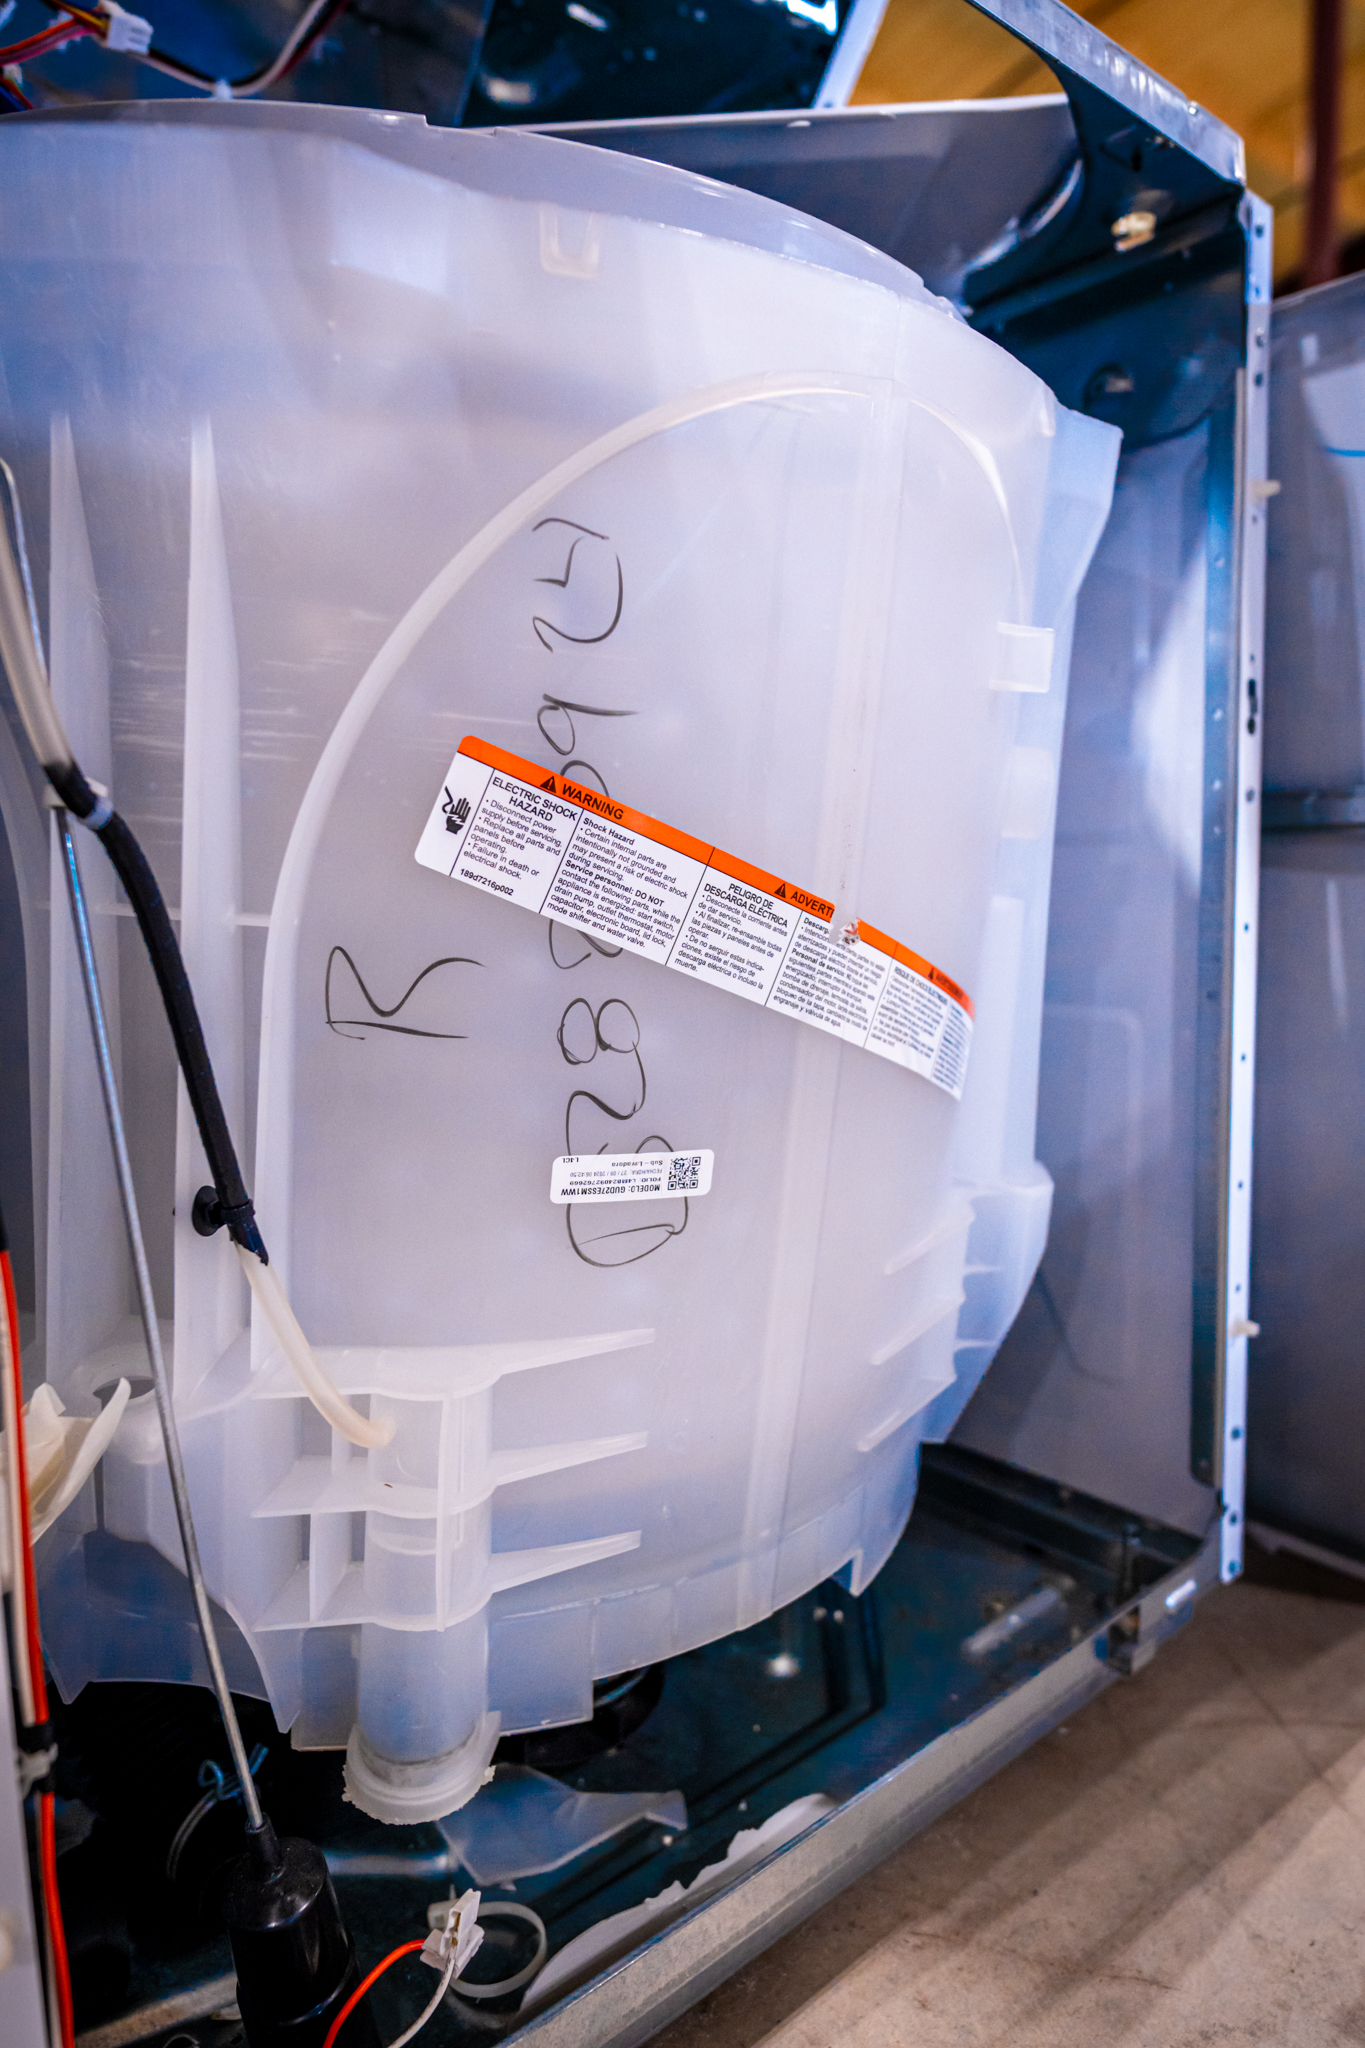
The Fix: Stop the machine immediately. Carefully inspect the drum for items like coins, keys, or buttons. You can also check the drain pump filter.
-
✓
When to Call a Pro: If the noise continues, the item may be stuck deeper inside the machine. A professional can retrieve it without causing damage.
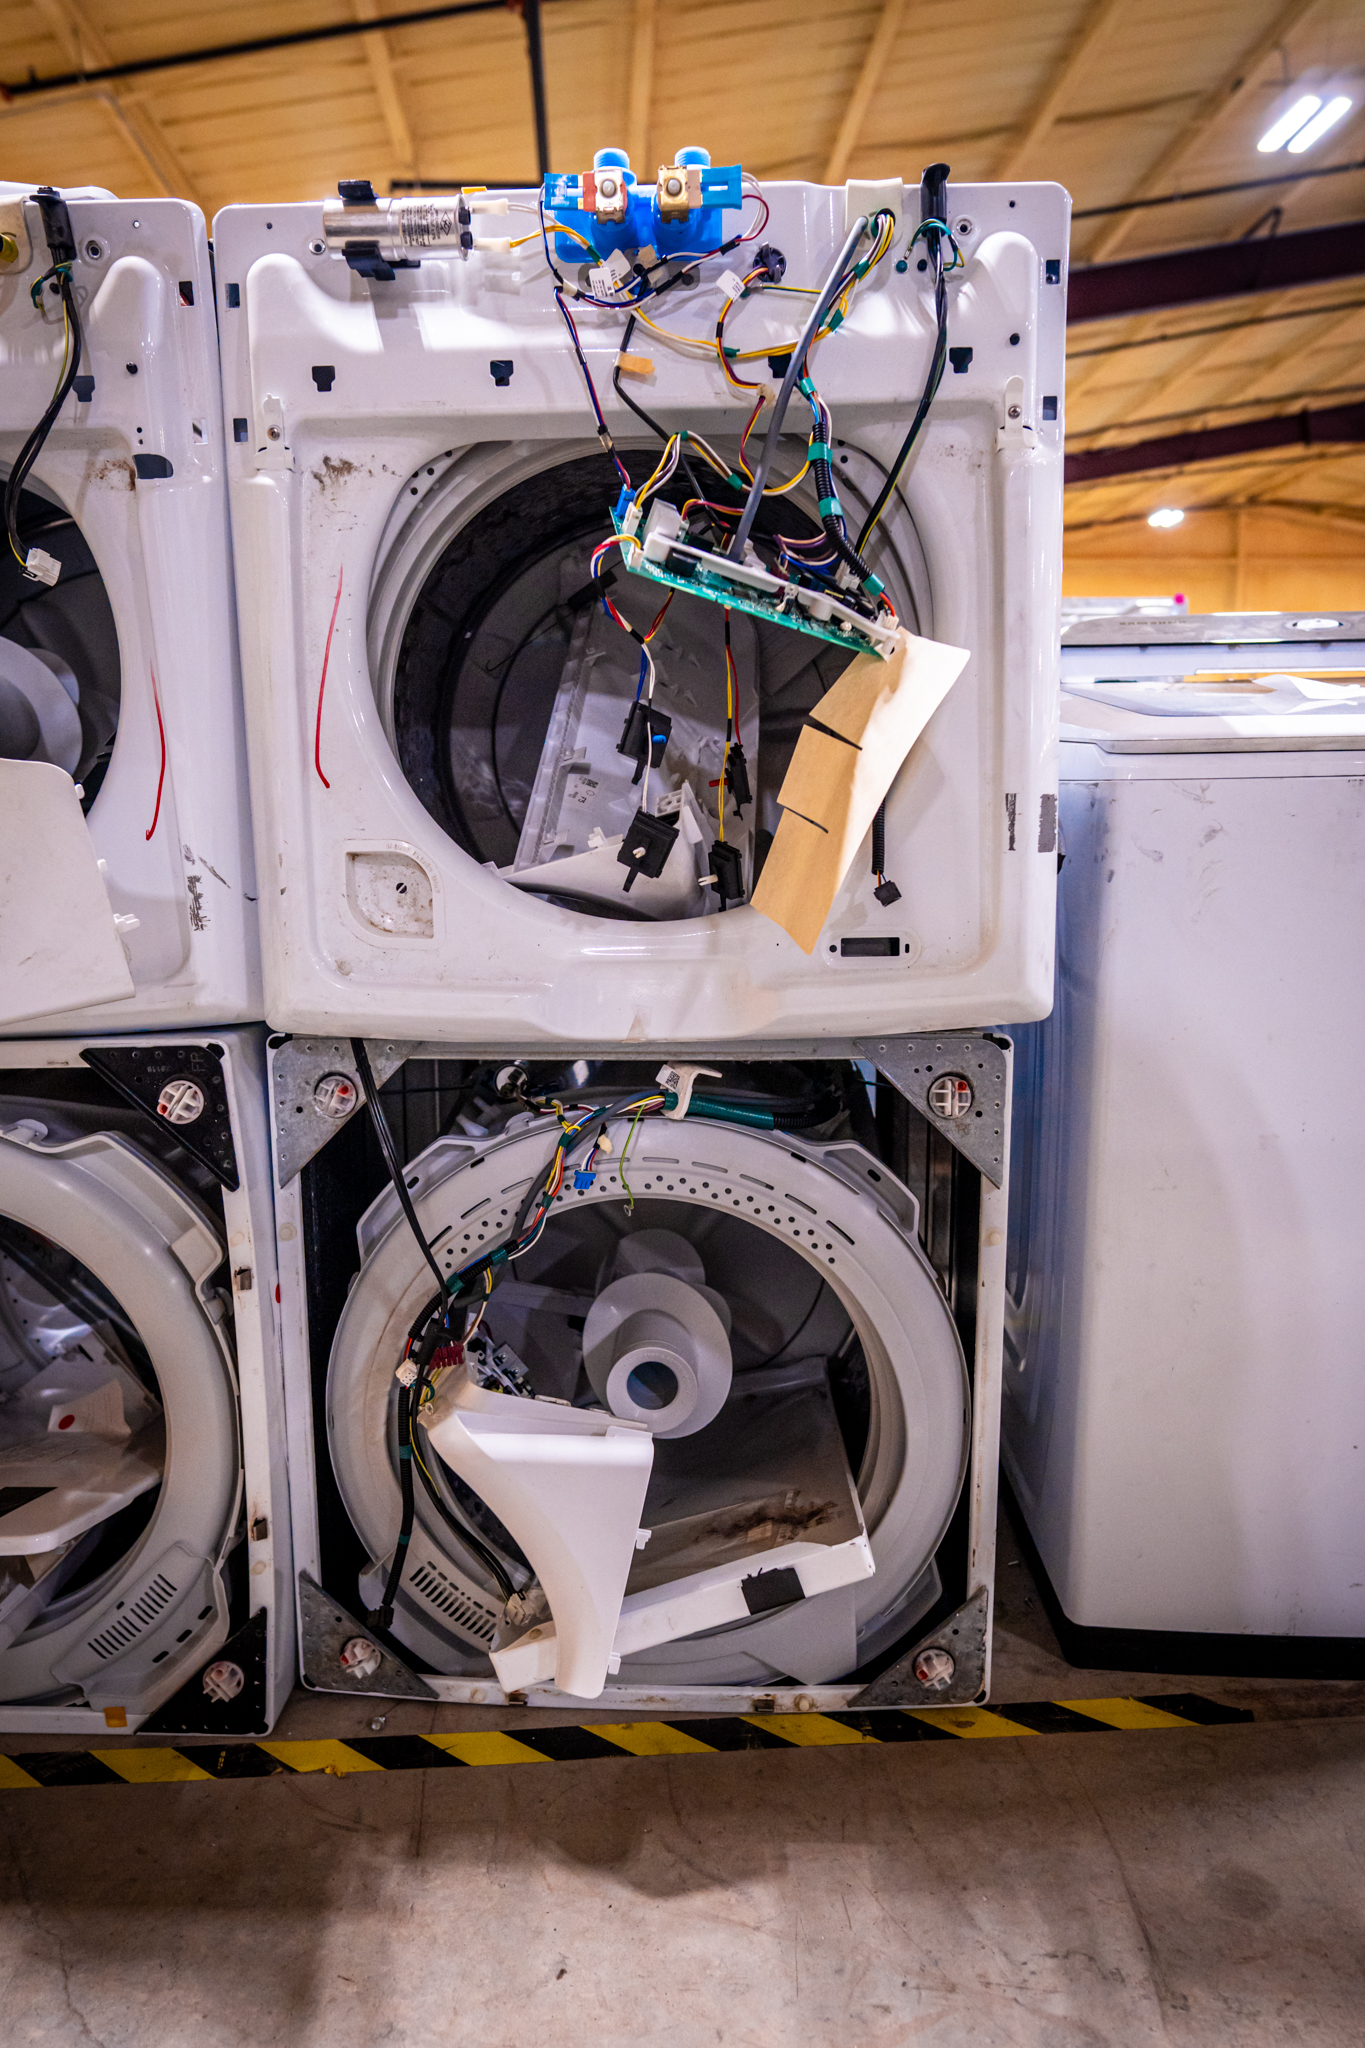
Squealing or Grinding
-
✓
The Cause: A squealing sound points to a worn or broken drive belt. A grinding noise indicates a problem with the motor or bearings.
-
✓
The Fix: Stop the machine immediately. These are not simple DIY repairs and can cause more damage if you continue to run the washer.
-
✓
When to Call a Pro: For these types of noises, it's best to call a professional right away. Our certified technicians can safely and efficiently handle these complex repairs.
Thumping or Violent Vibrating
-
✓
The Cause: An unbalanced load is the most common reason. The machine is struggling to spin an unevenly distributed weight.
-
✓
The Fix: Stop the cycle, open the lid, and redistribute the clothes evenly. If the problem persists, check if the machine is level and adjust the feet on the bottom to stabilize it.
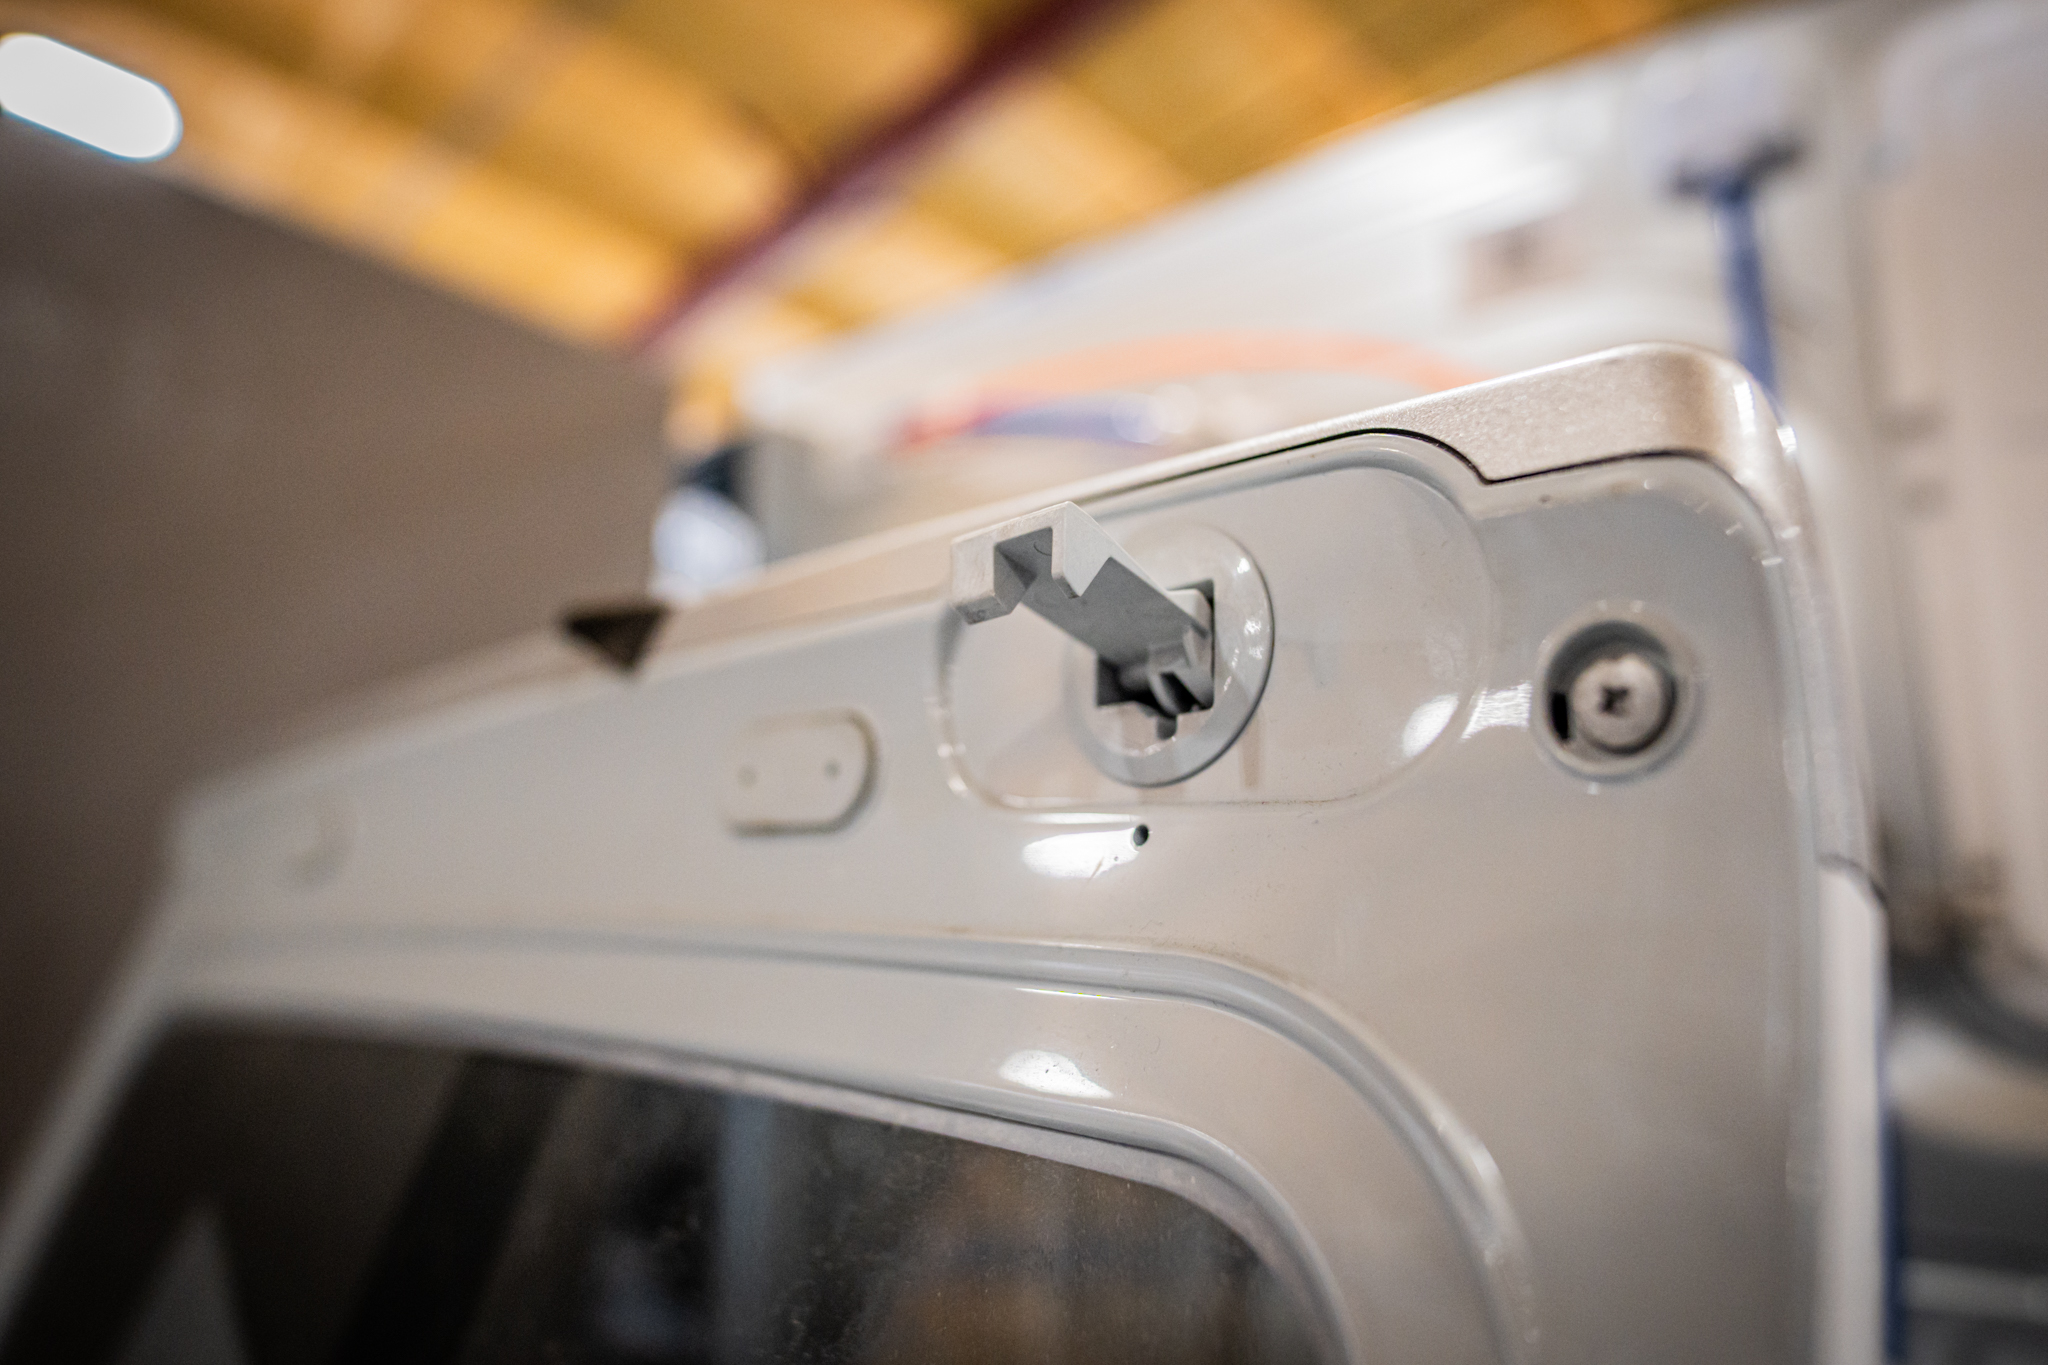
Your GE Washer's Silent Alarms
Sometimes a problem isn't a loud sound, but a total lack of one. If your machine is running a cycle but the spin cycle isn't engaging, it can be just as frustrating.
-
✓
The Cause: This can be due to a faulty lid switch or a drive belt issue.
-
✓
The Fix: Make sure the lid is securely latched. If you hear a grinding or squealing noise, it's likely the drive belt.
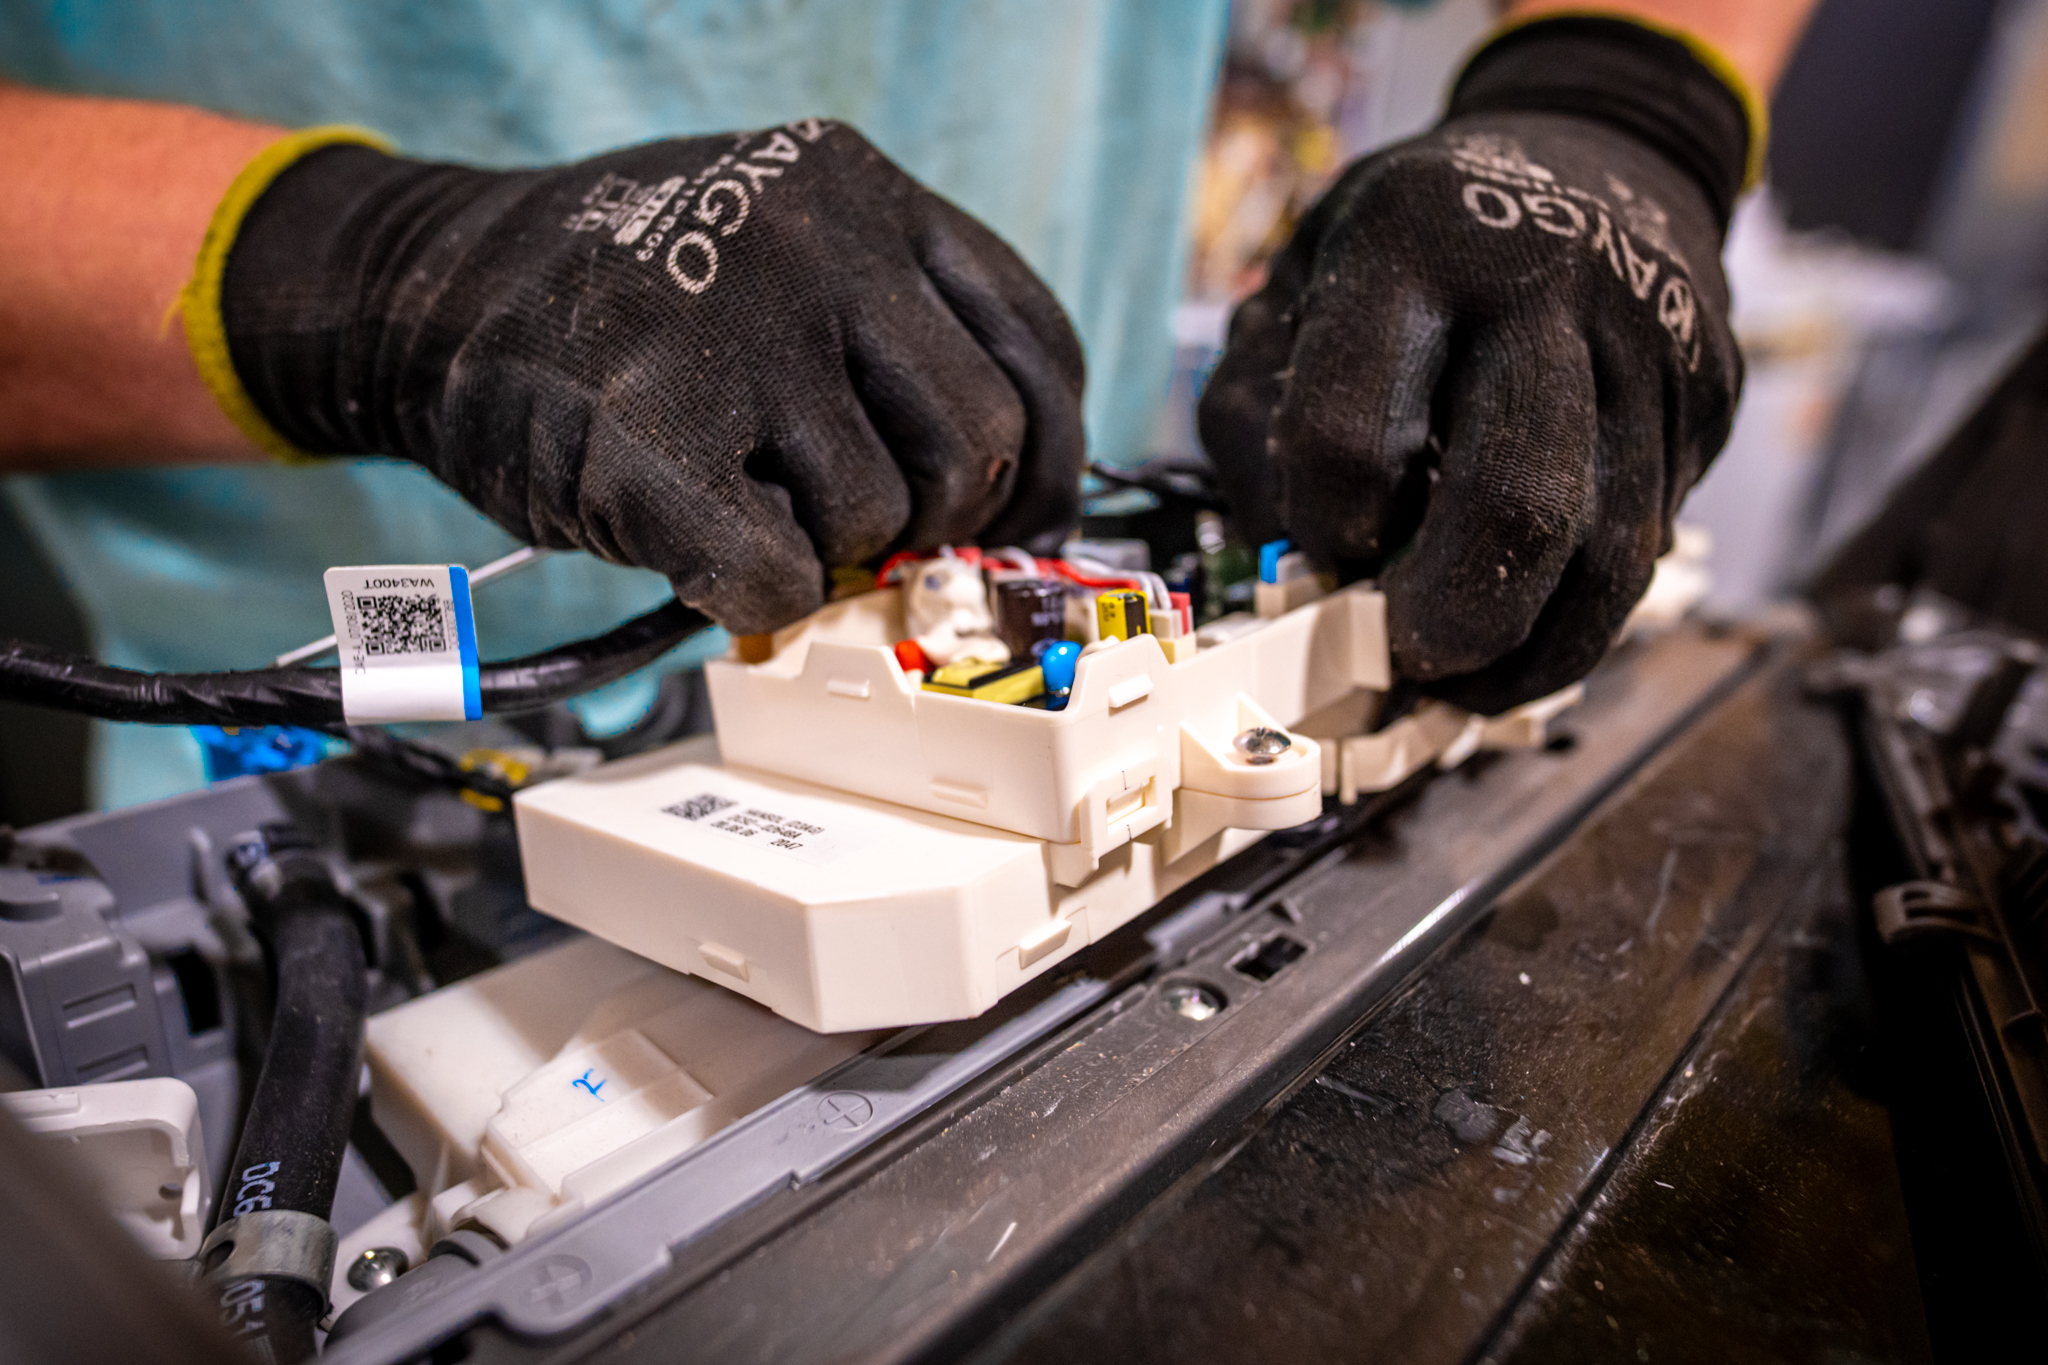
Ready to Call in the Experts?
While some of these issues can be solved with a quick fix, others require a professional hand. If you've tried our troubleshooting tips and your machine is still making noise, it's time to call in the experts.
We know how much you rely on your appliances here in Austin. Our team of certified technicians specializes in GE washer repair and can quickly diagnose and fix the problem. We'll get your washer running quietly and efficiently in no time.
For more helpful repair tips and tricks, check out our other articles:
The Ultimate Guide to GE Washer Repair: Common Issues & Expert Solutions
GE Washer Not Draining? Troubleshooting & Repair Solutions for a Clogged Drain Pump
If you're ready to schedule a professional repair, contact us today! We're here to help.