
️ Austin’s Only Dishwasher Repair Guide That Guarantees Your Best Outcome | The NEU Repair or Replace Promise
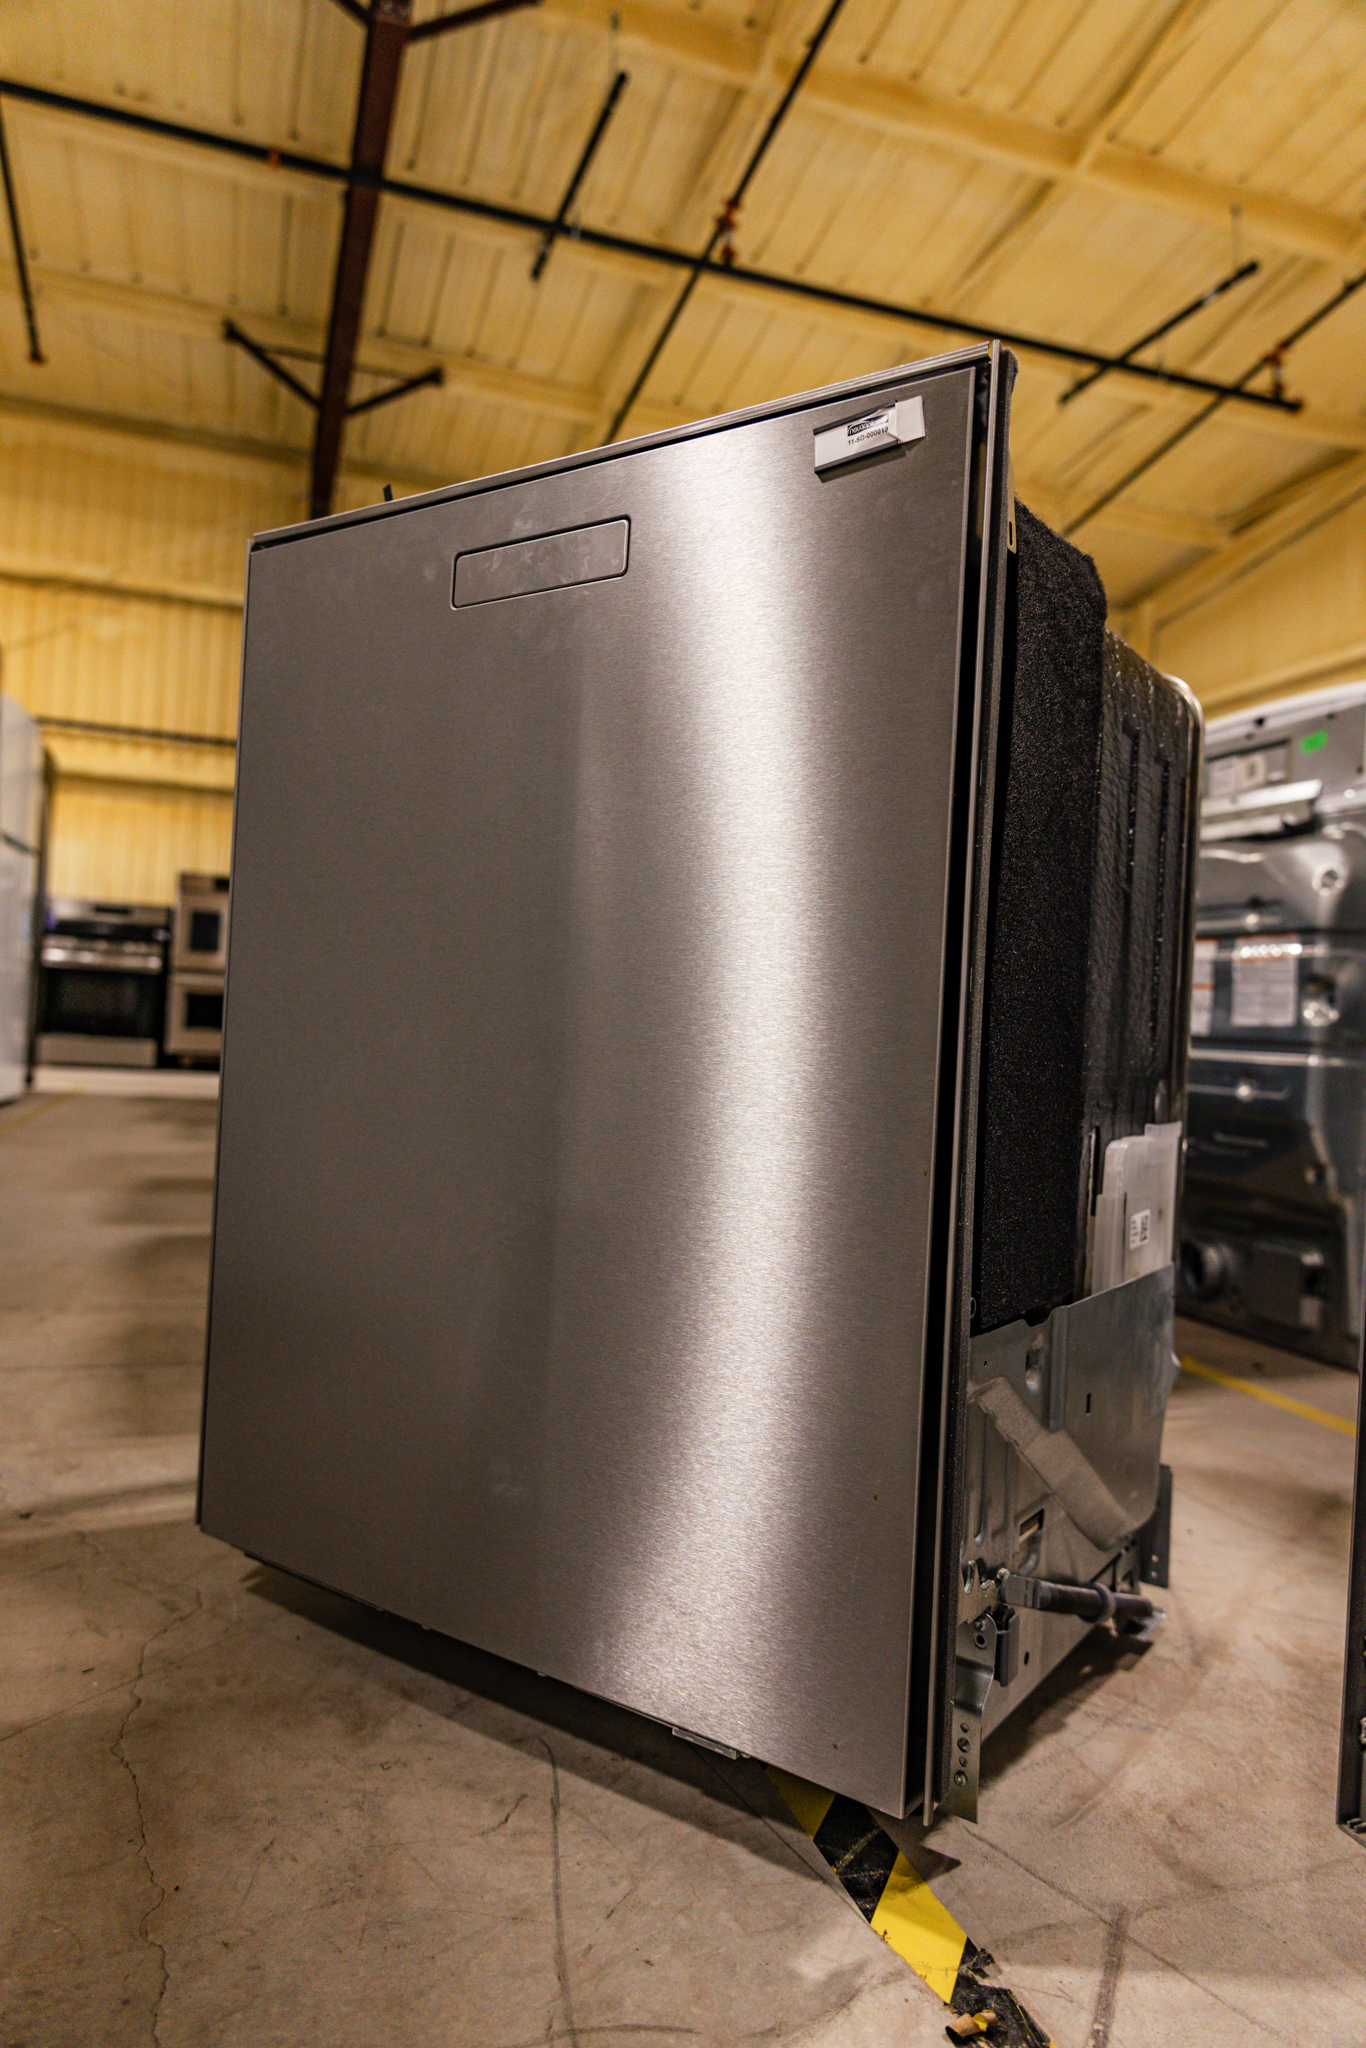
When your dishwasher breaks down, it feels like the entire kitchen has turned against you. Suddenly, you’re overwhelmed with soapy water, struggling with streaks on your glasses, and wondering if this broken appliance is worth any more investment.
For Austin homeowners seeking trustworthy **Dishwasher Repair Austin**, that financial headache ends the moment you call NEU Appliance Repair. We’re local neighbors who reject the guesswork of appliance service. Our signature promise, the **NEU Repair or Replace Option**, is how we put you completely in charge of your home budget. We don’t just fix machines; we guarantee you walk away with the smartest financial solution available in Central Texas.
The Real Fight | Why Austin’s Water Kills Dishwashers Fast
A struggling dishwasher isn't just about a loose screw. It’s a machine constantly battling our environment. Here in Central Texas, that means fighting high mineral content in the water, which creates unique, costly wear-and-tear.
The Mineral Build-Up:
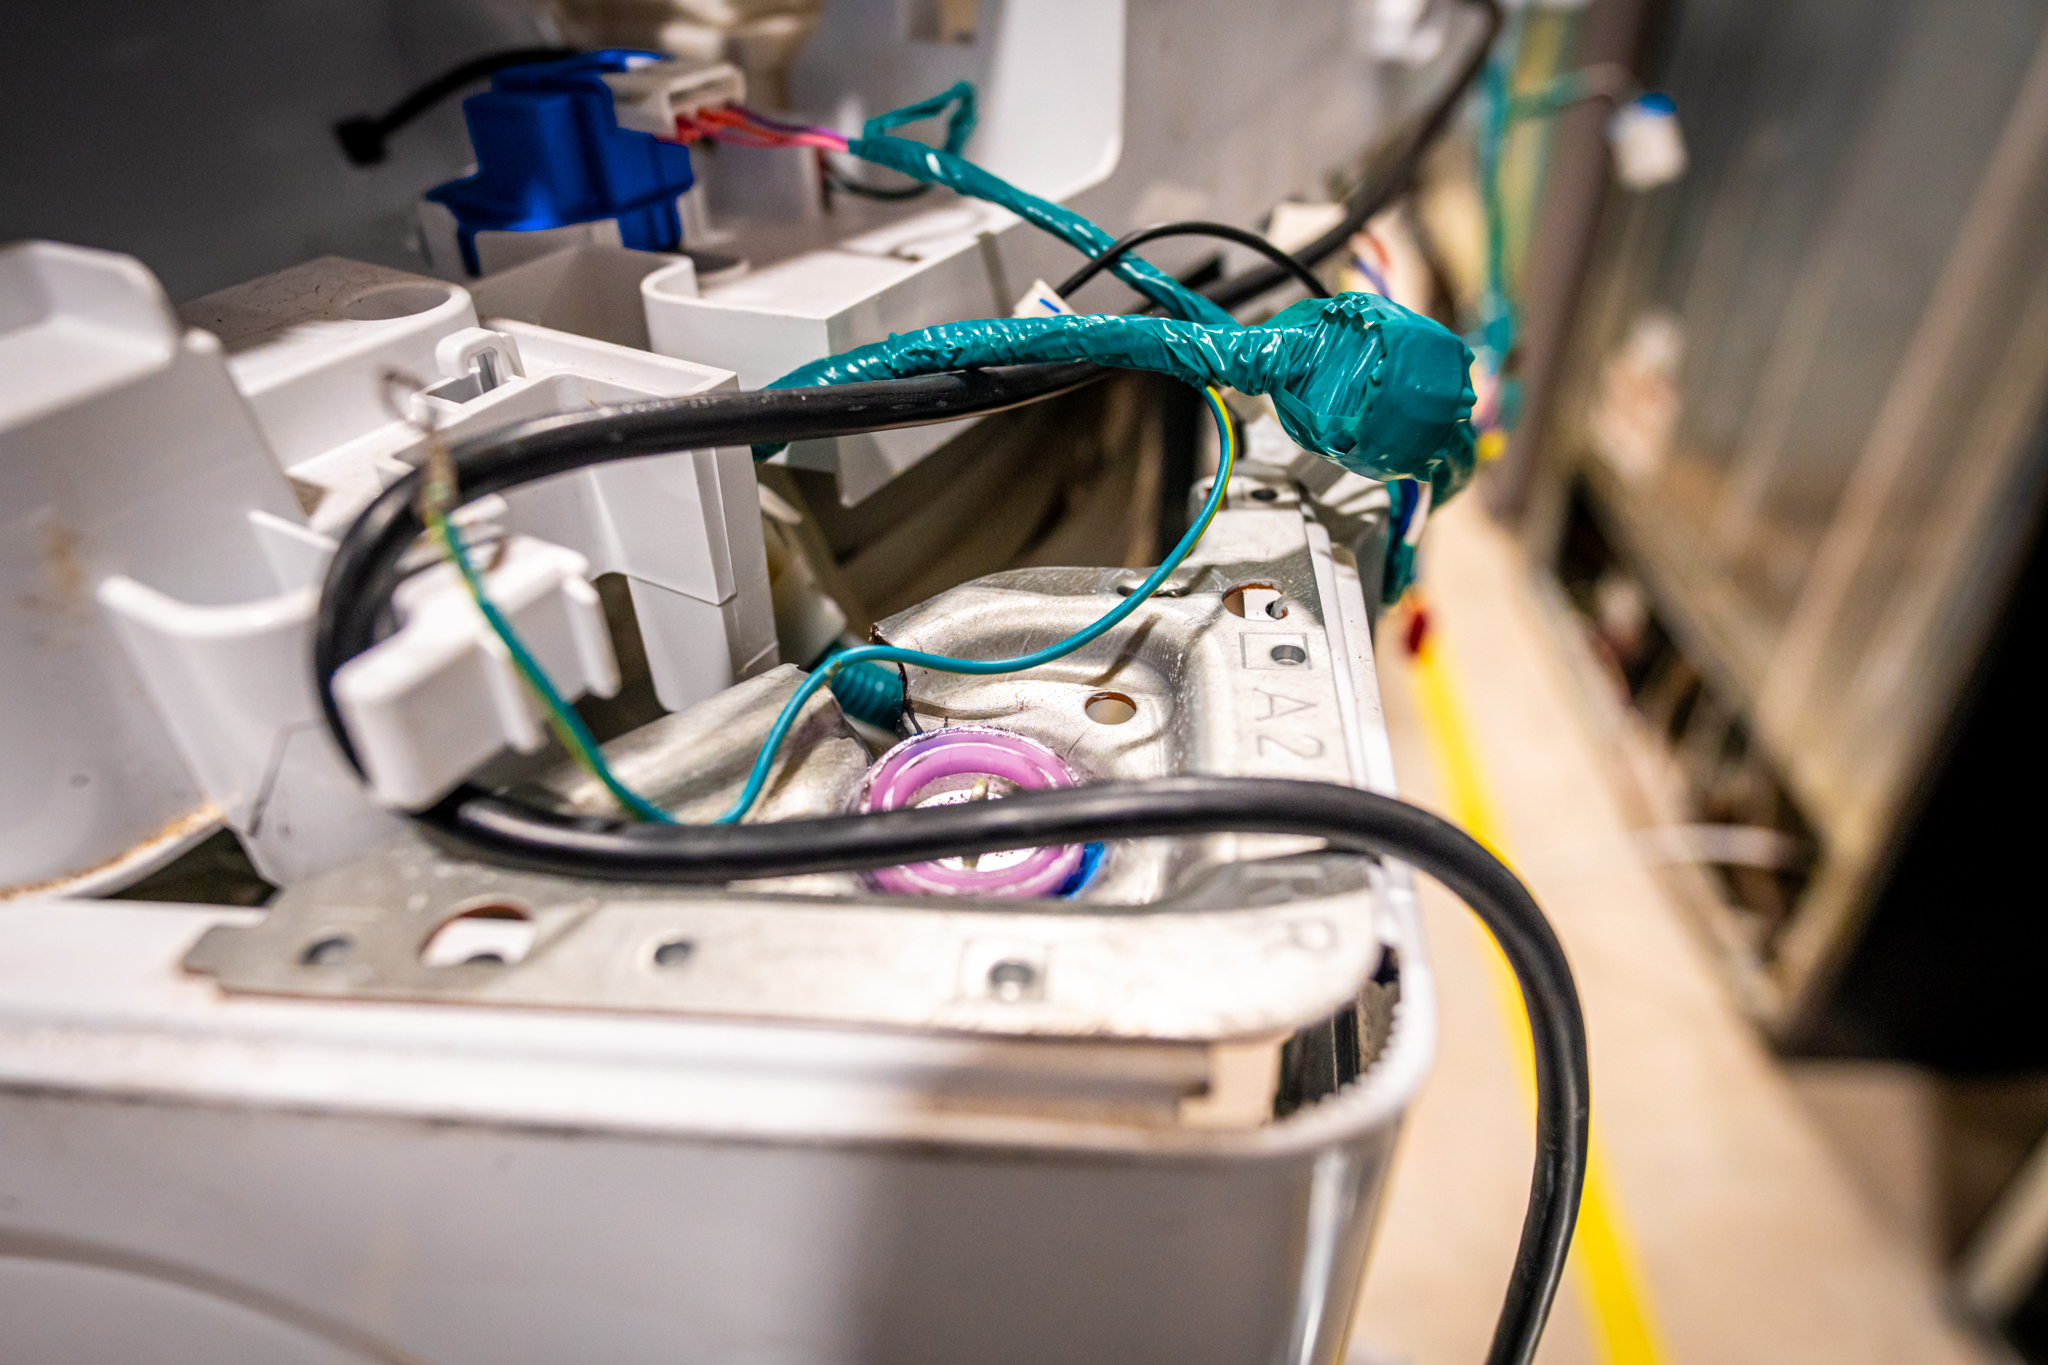
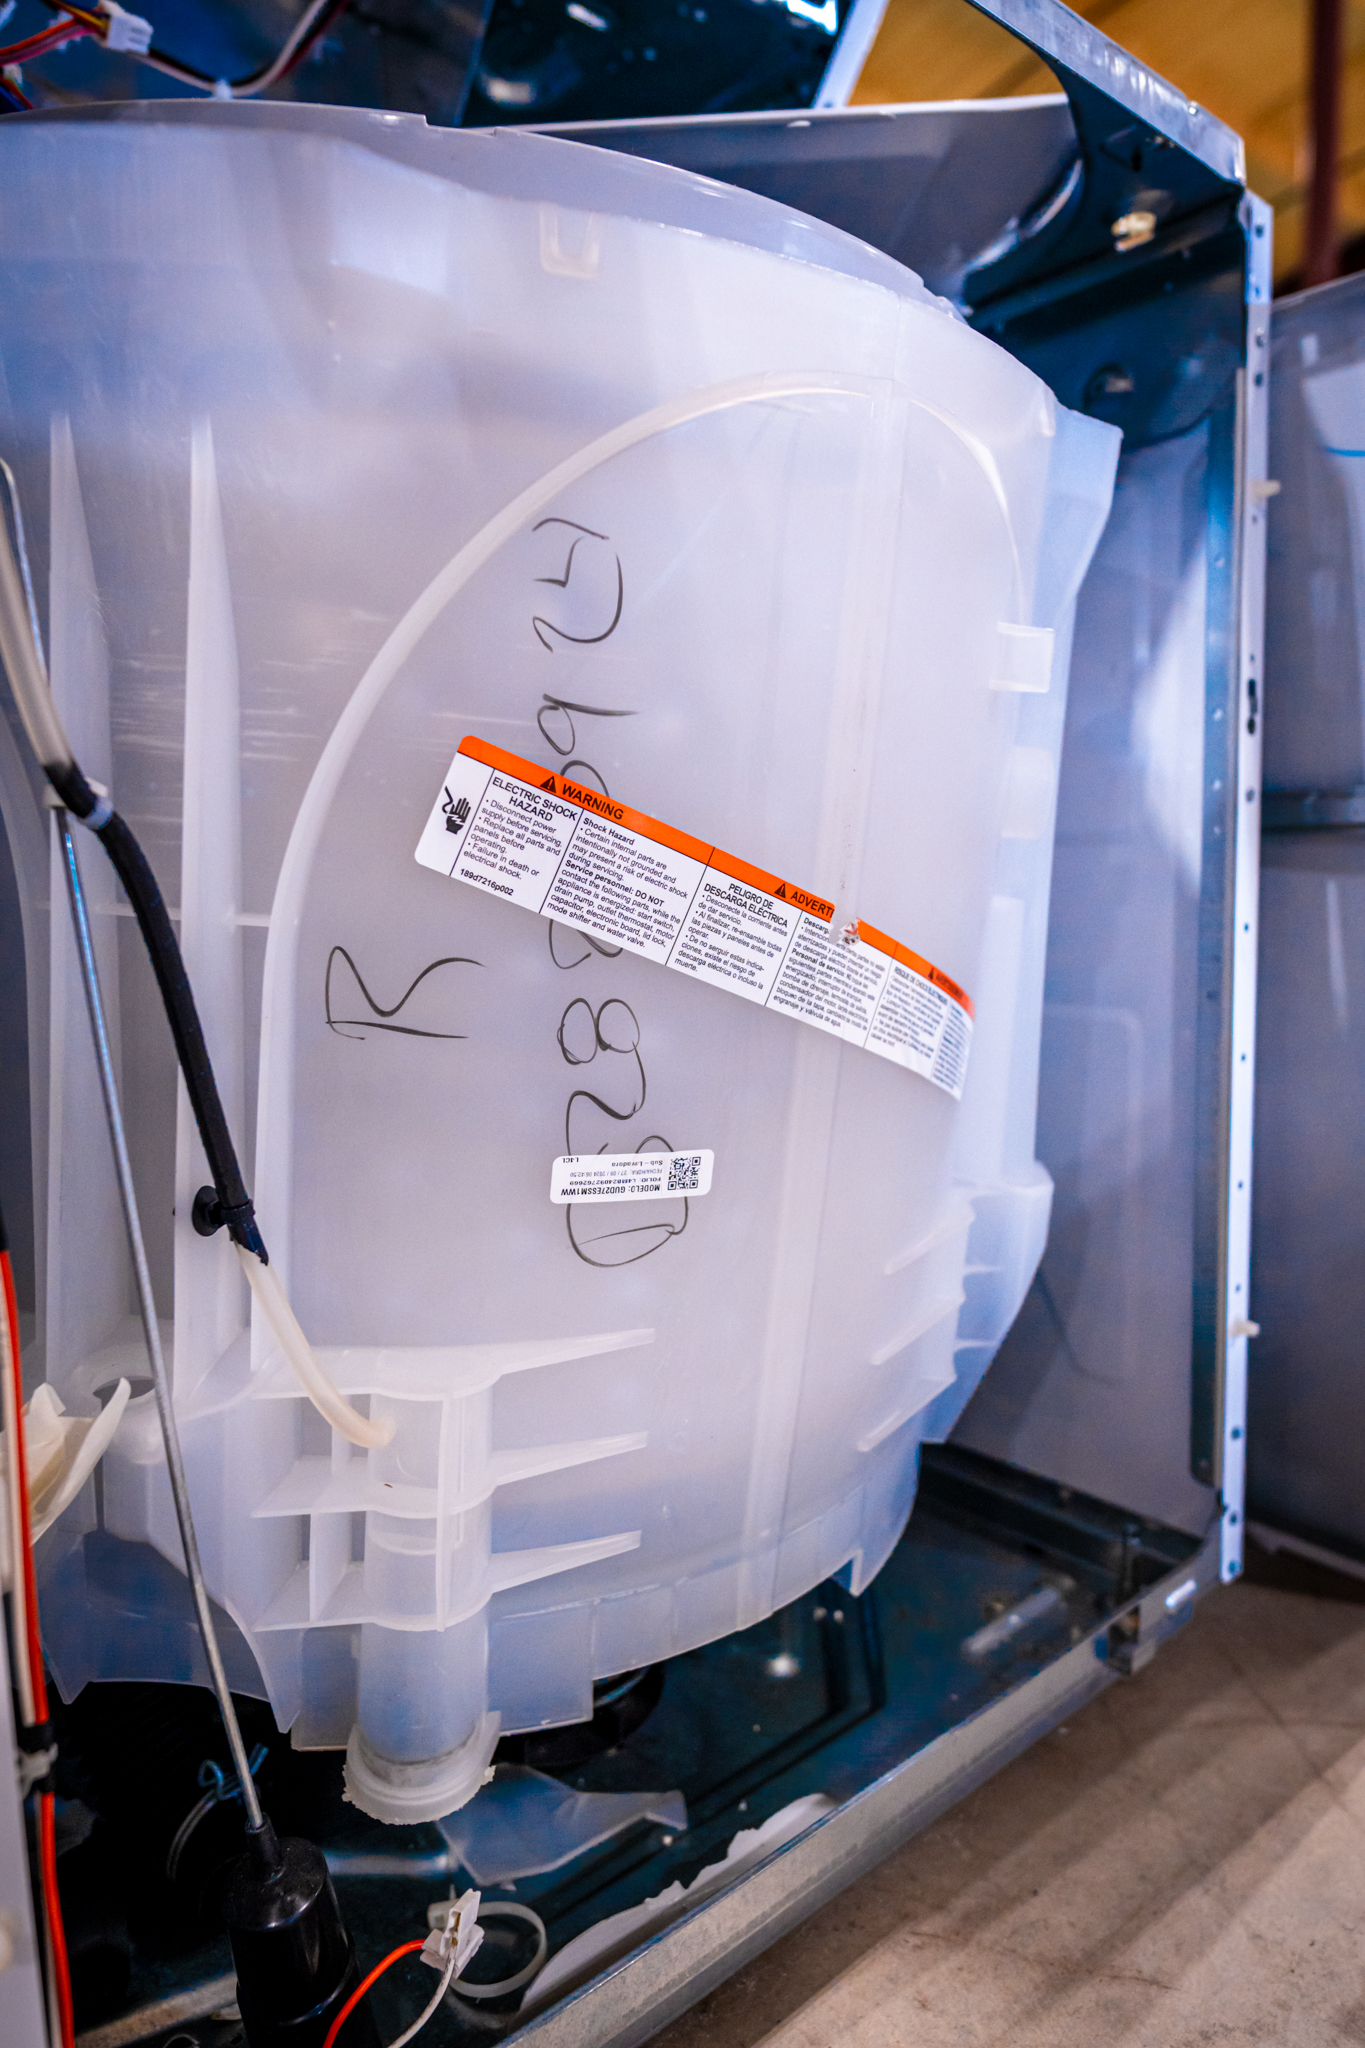
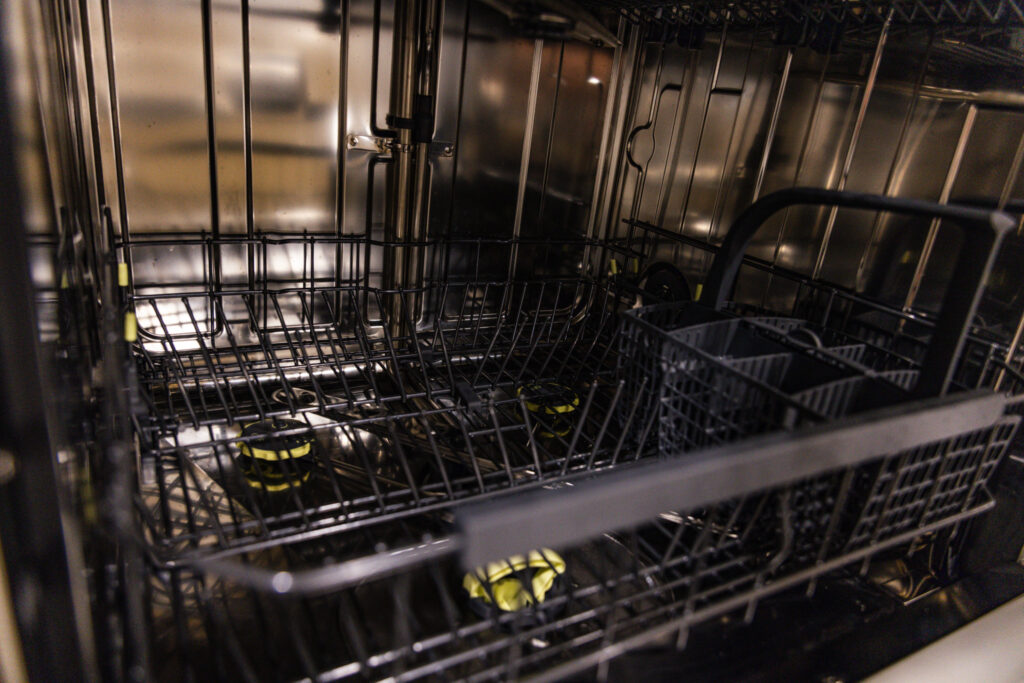
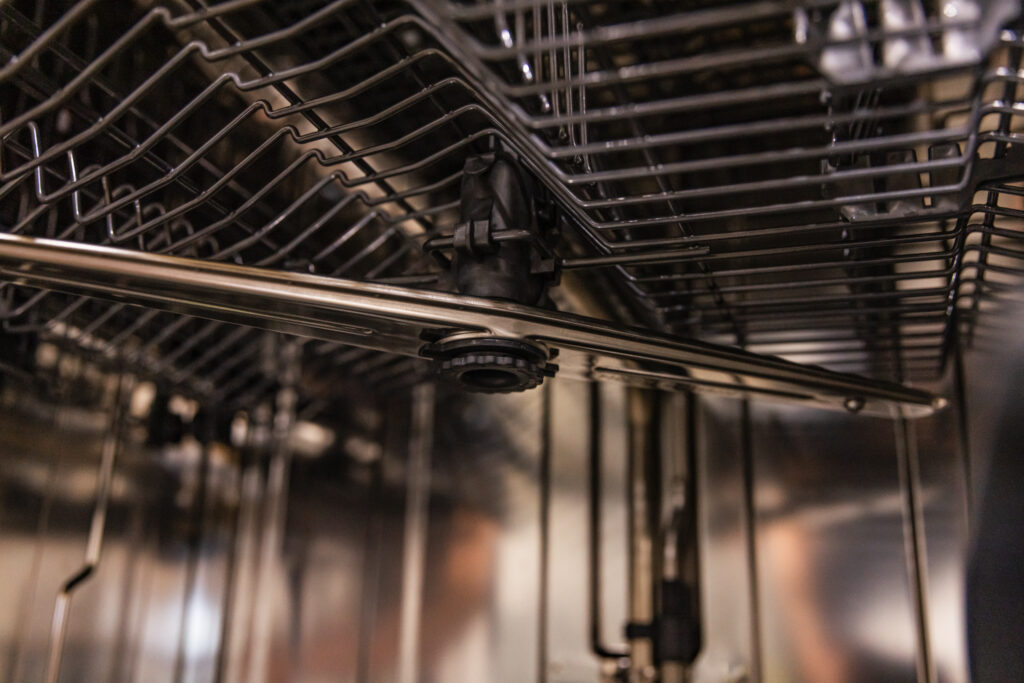
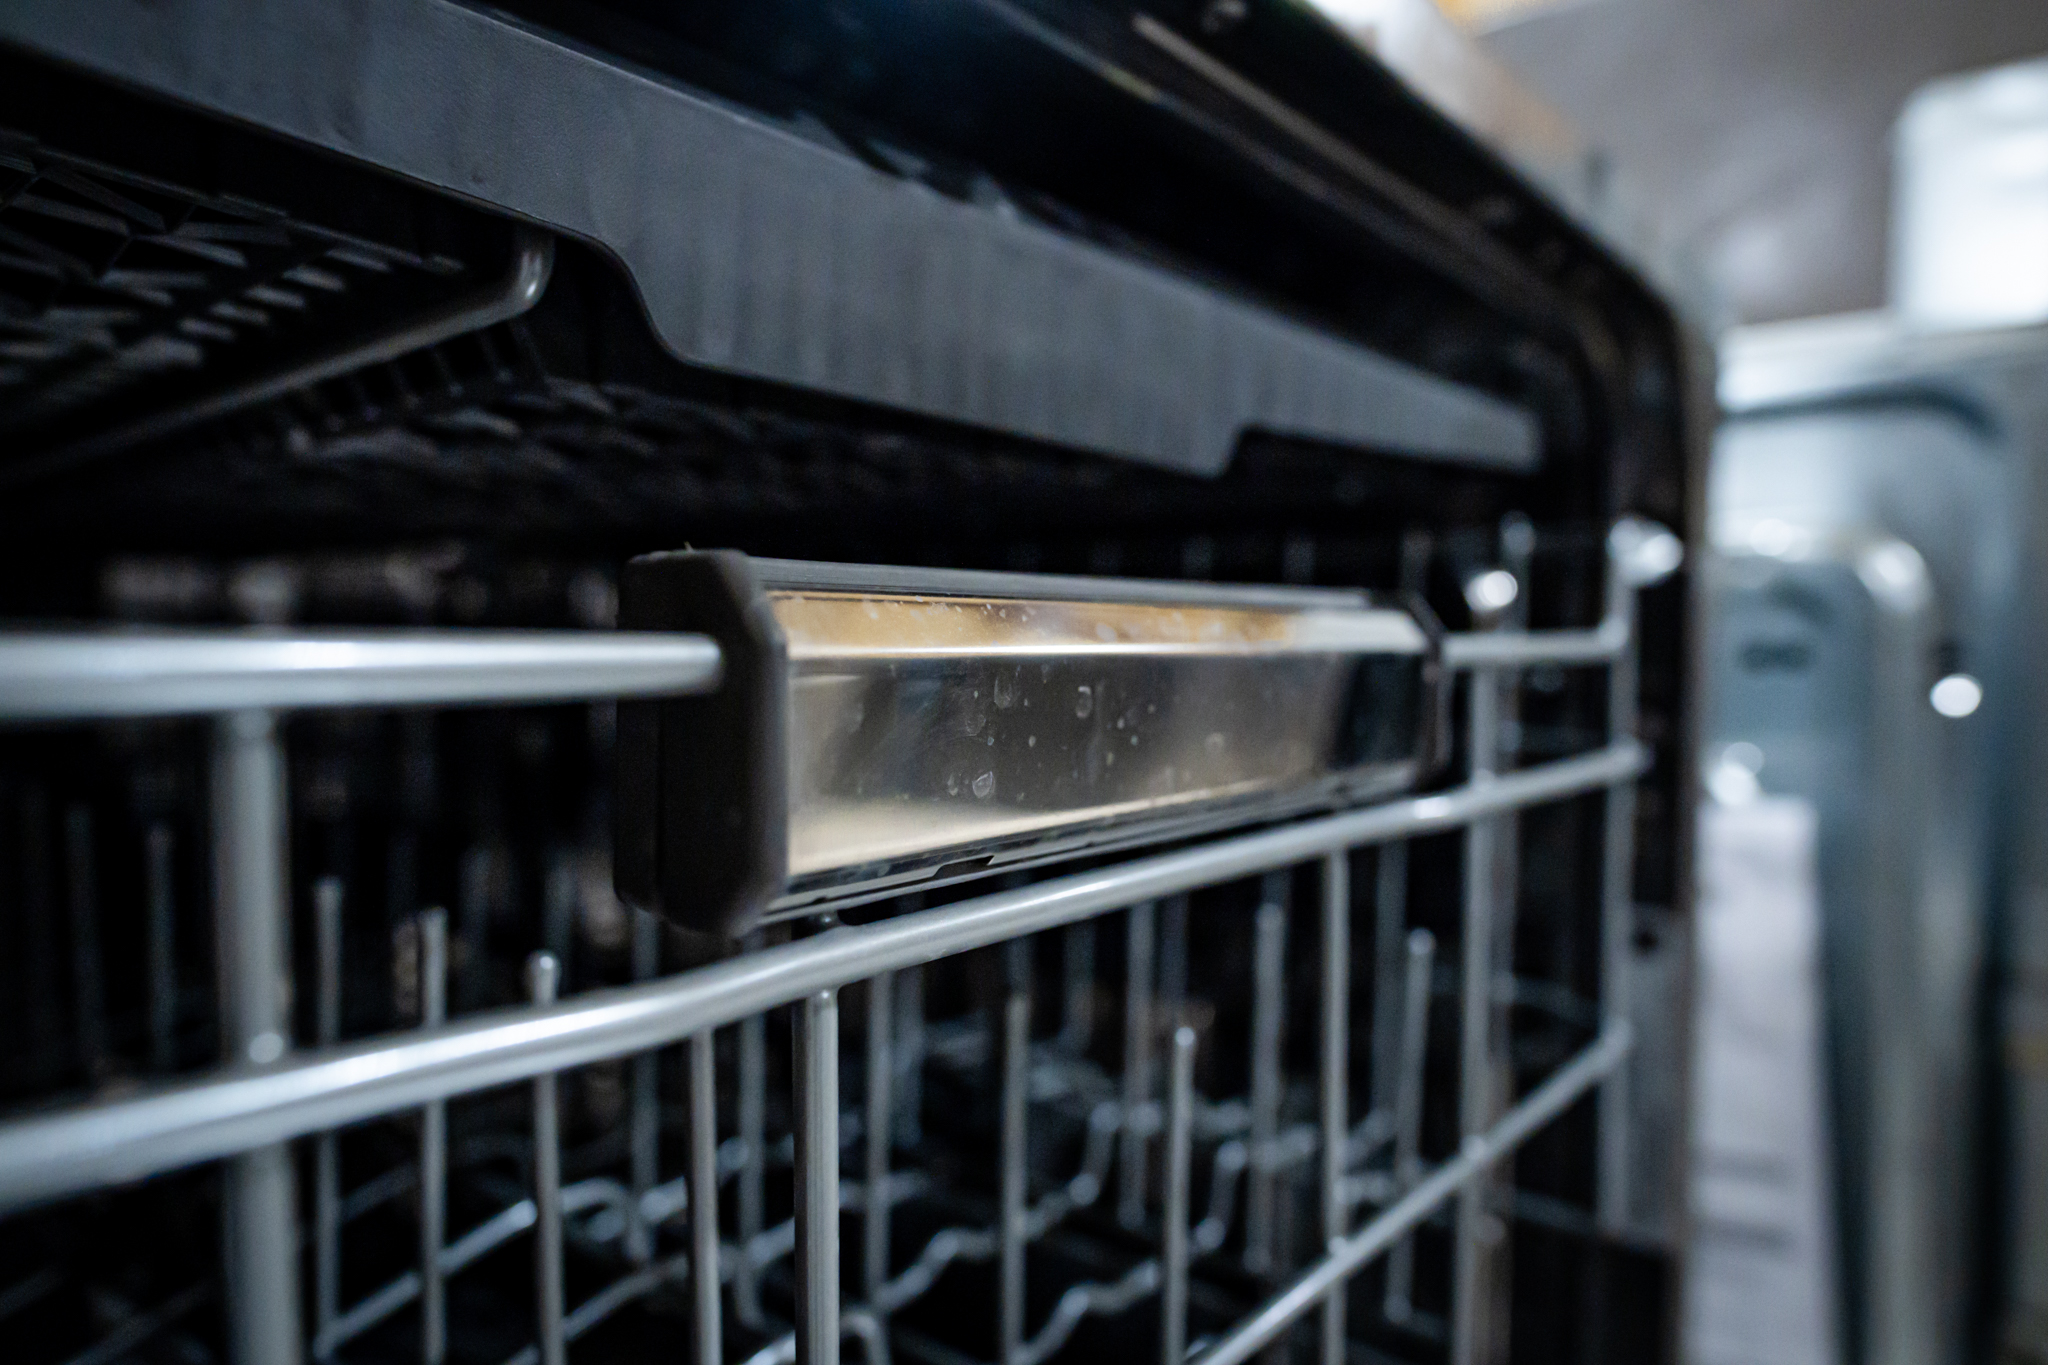
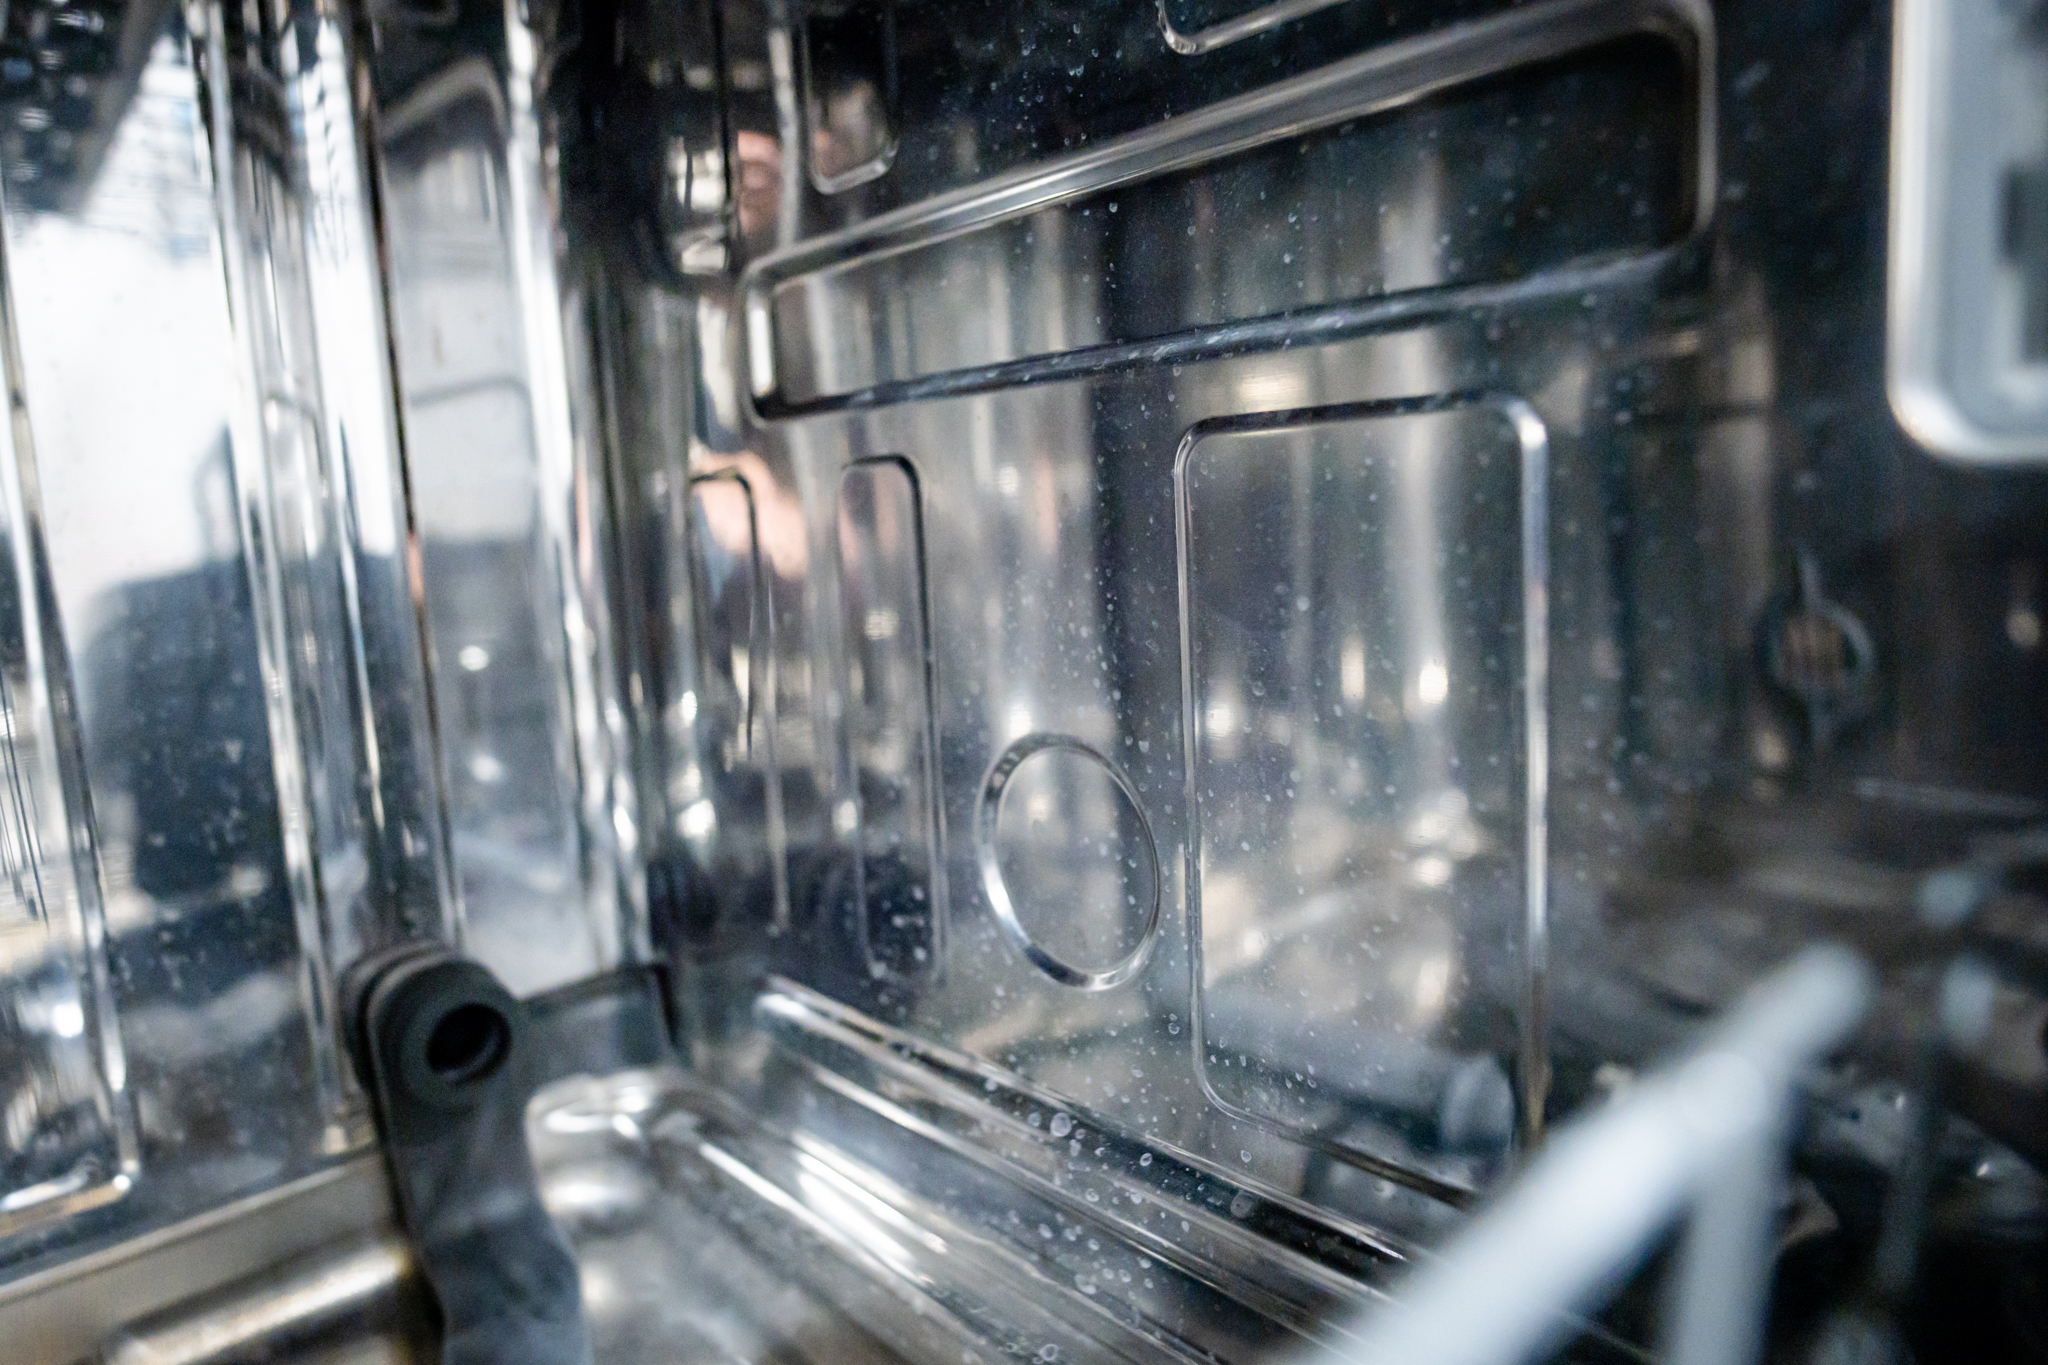
Our hard water turns calcium and magnesium into a gritty scale when heated. This scale clogs tiny spray arm jets, drags down circulation pumps, and coats heating elements. The final result is a slow, premature death for your appliance—poor cleaning now, major failure later.
The Weary Noise:
That increasingly loud grinding or rattling sound is often your pump motor straining against mineral friction or lodged debris. That noise is a warning sign; ignoring it is inviting a much more expensive motor replacement.
We built NEU to confront these local issues head-on, delivering solutions that survive the unique conditions of an Austin kitchen.
The NEU Promise: Control, Not Confusion
This is our local edge. No other service company in town can offer the complete confidence and control that comes with our unique link to NEU Appliance Outlet.
When our skilled technician arrives at your home, our process is straightforward and totally focused on your benefit:
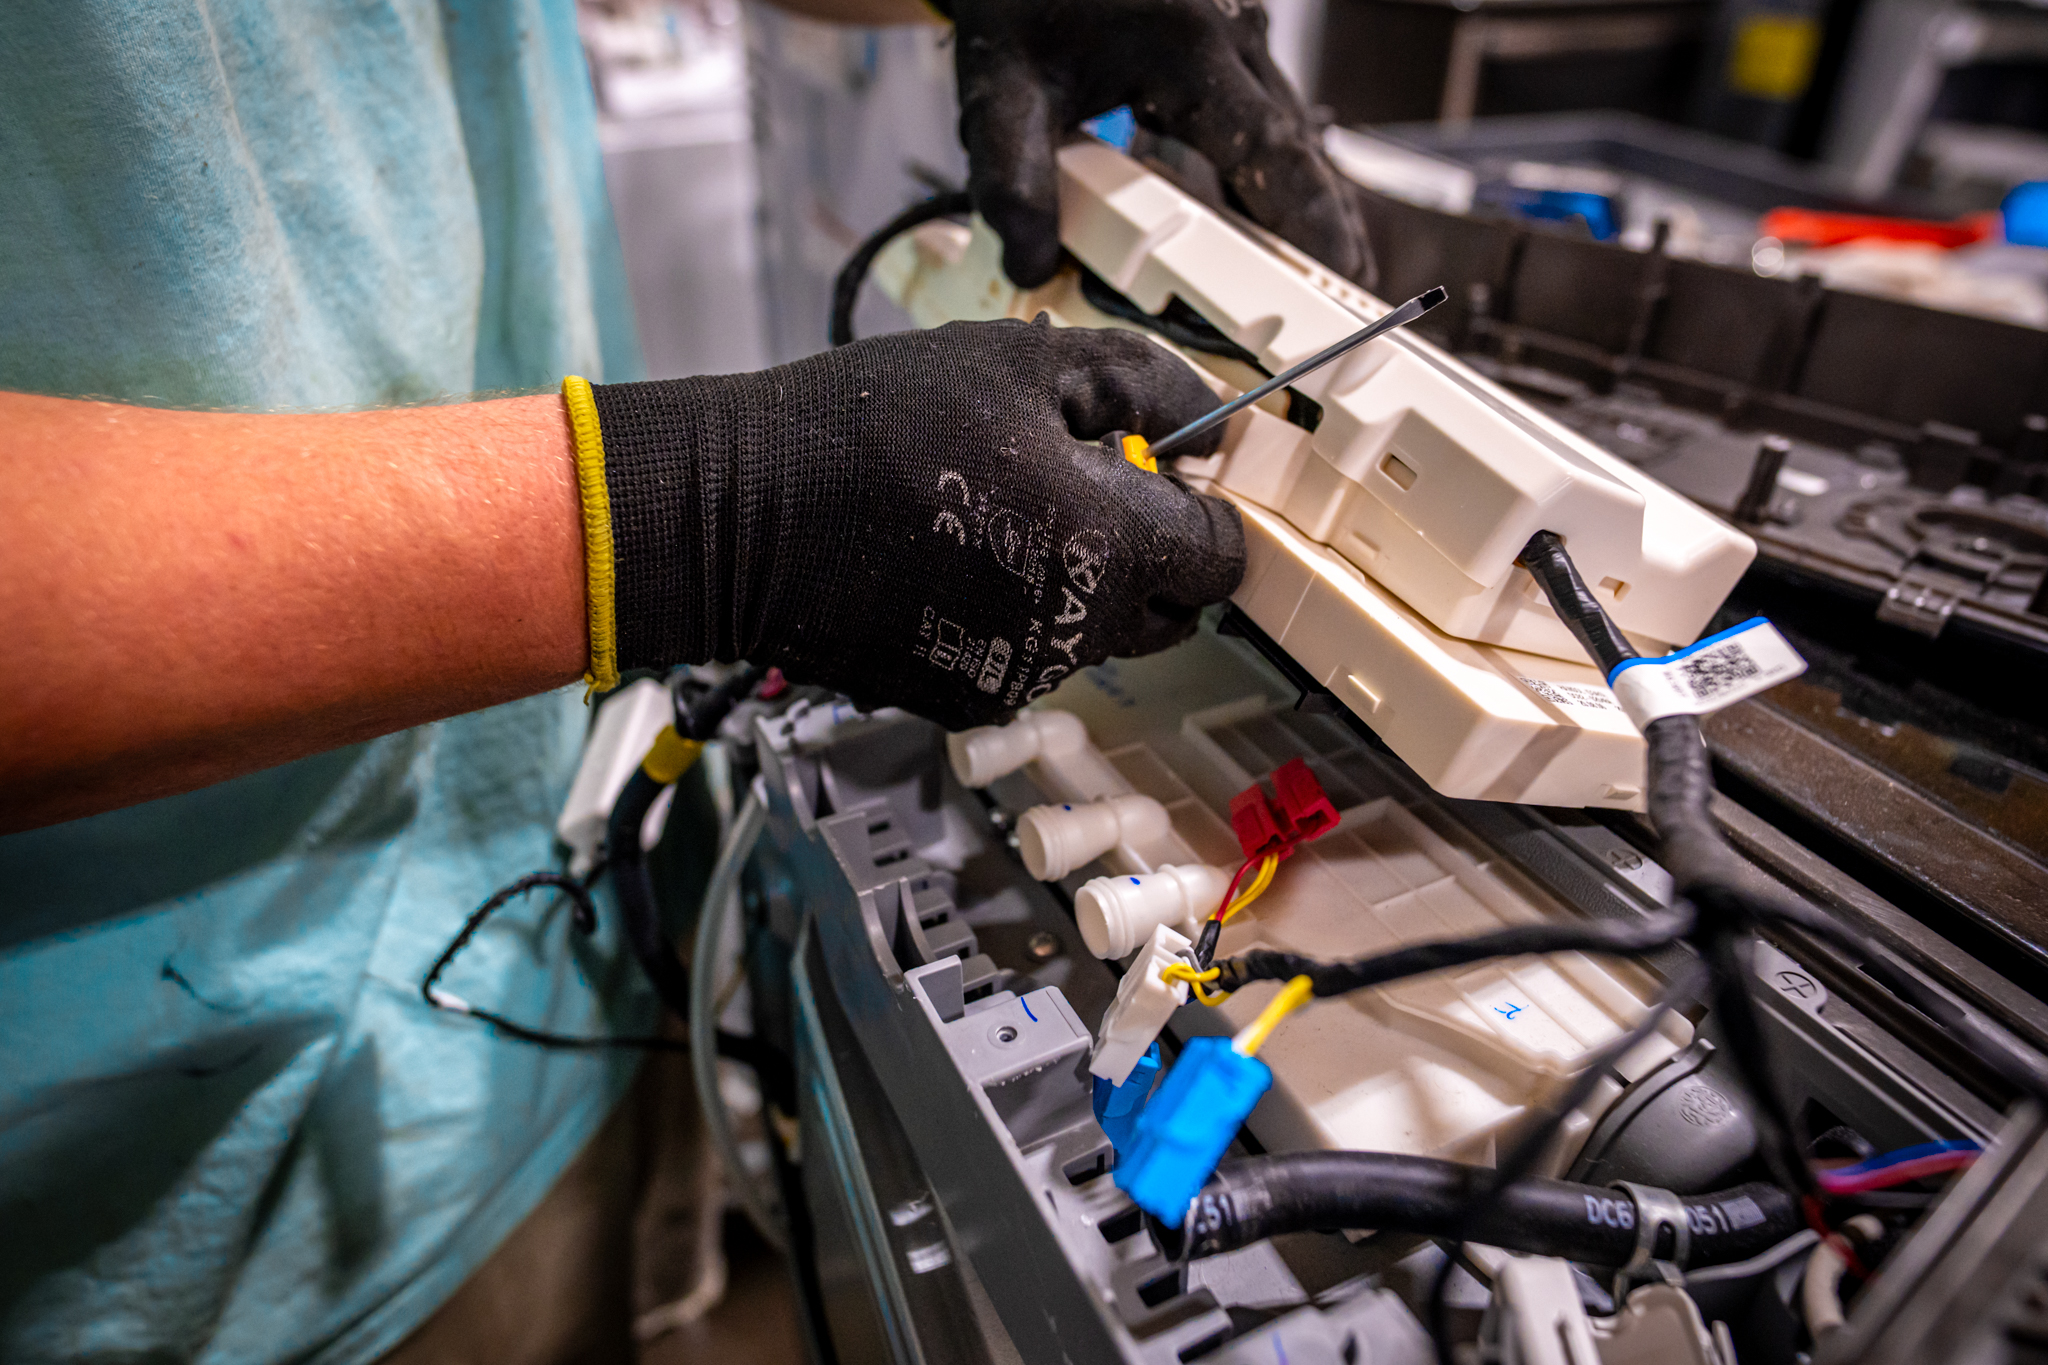
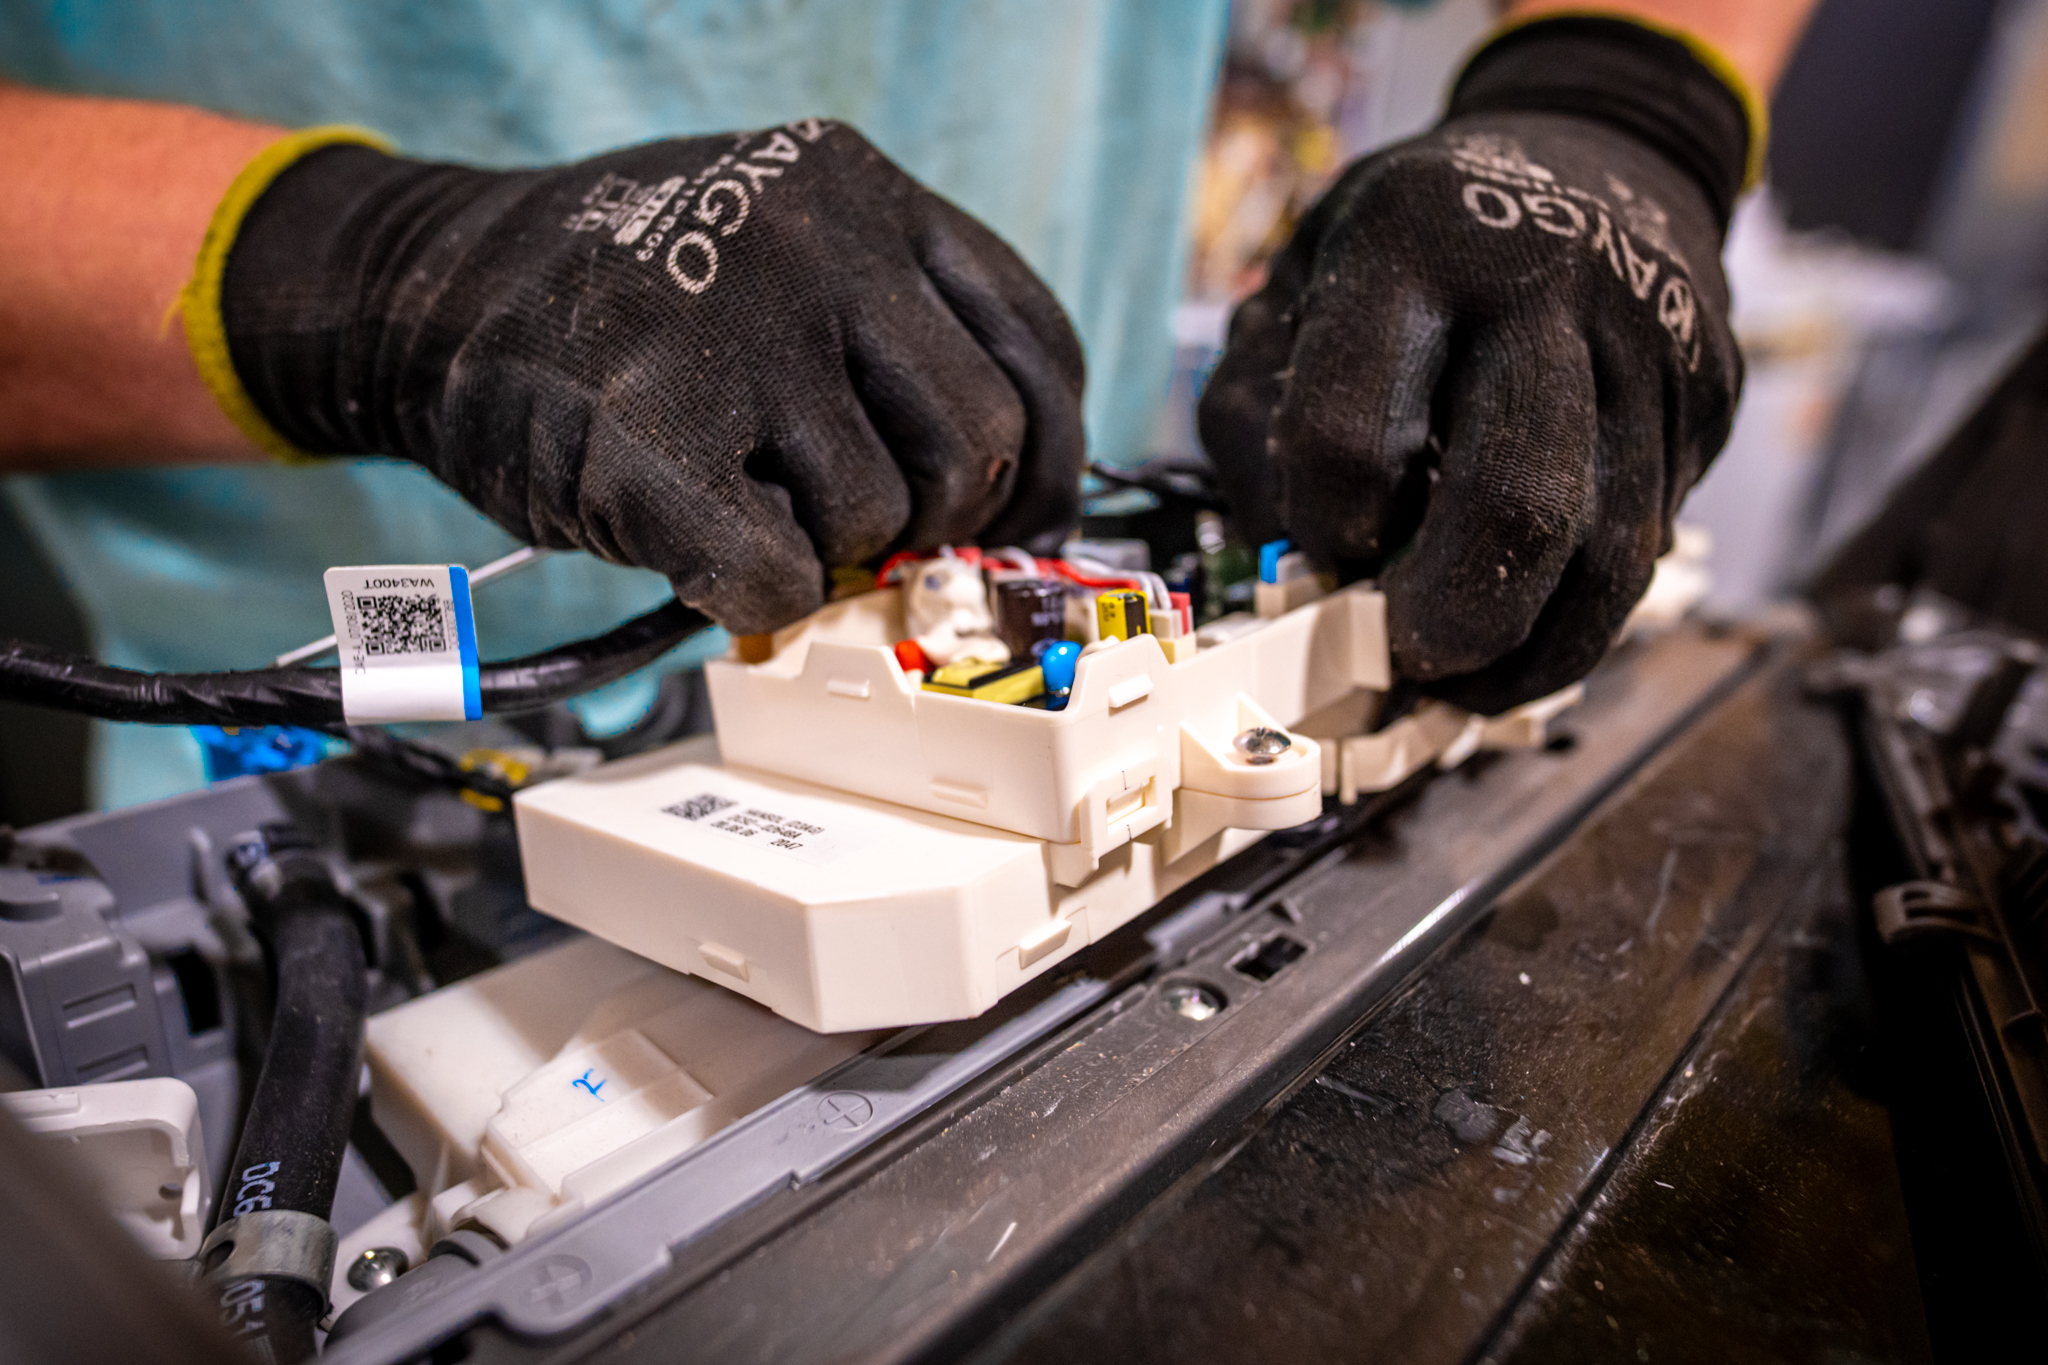
- Direct Diagnosis: After paying a single, flat service fee, our technician expertly pinpoints the exact cause of failure, from a simple control board glitch to a complex drainage issue.
- The Repair Quote: We immediately provide you with a crystal-clear, itemized quote to restore your current machine, fully protected by our robust parts and labor warranties.
- The Replacement Quote: This is where we shine. We also provide you with the immediate, lowest possible price to replace your broken unit with a top-quality, warrantied model from NEU Appliance Outlet (our selection of scratch & dent or certified open-box machines).
The choice is completely yours. You can confidently weigh the cost of extending your machine's life against the cost of upgrading to a high-value replacement. We eliminate the industry standard of pushing unnecessary repairs. We offer the solution that is best for your finances.
NEU Insight: We view our job as protecting your wallet. We prevent customers from sinking good money into an appliance that is already too worn out, saving them from stress and future expenses.
Pinpointing Austin’s Most Common Dishwasher Failures
Our team knows the common breakdown patterns seen around Central Austin. If you’re experiencing these signs, it's time to call the experts.
| Symptom | The Usual Culprit | NEU’s Fix |
|---|---|---|
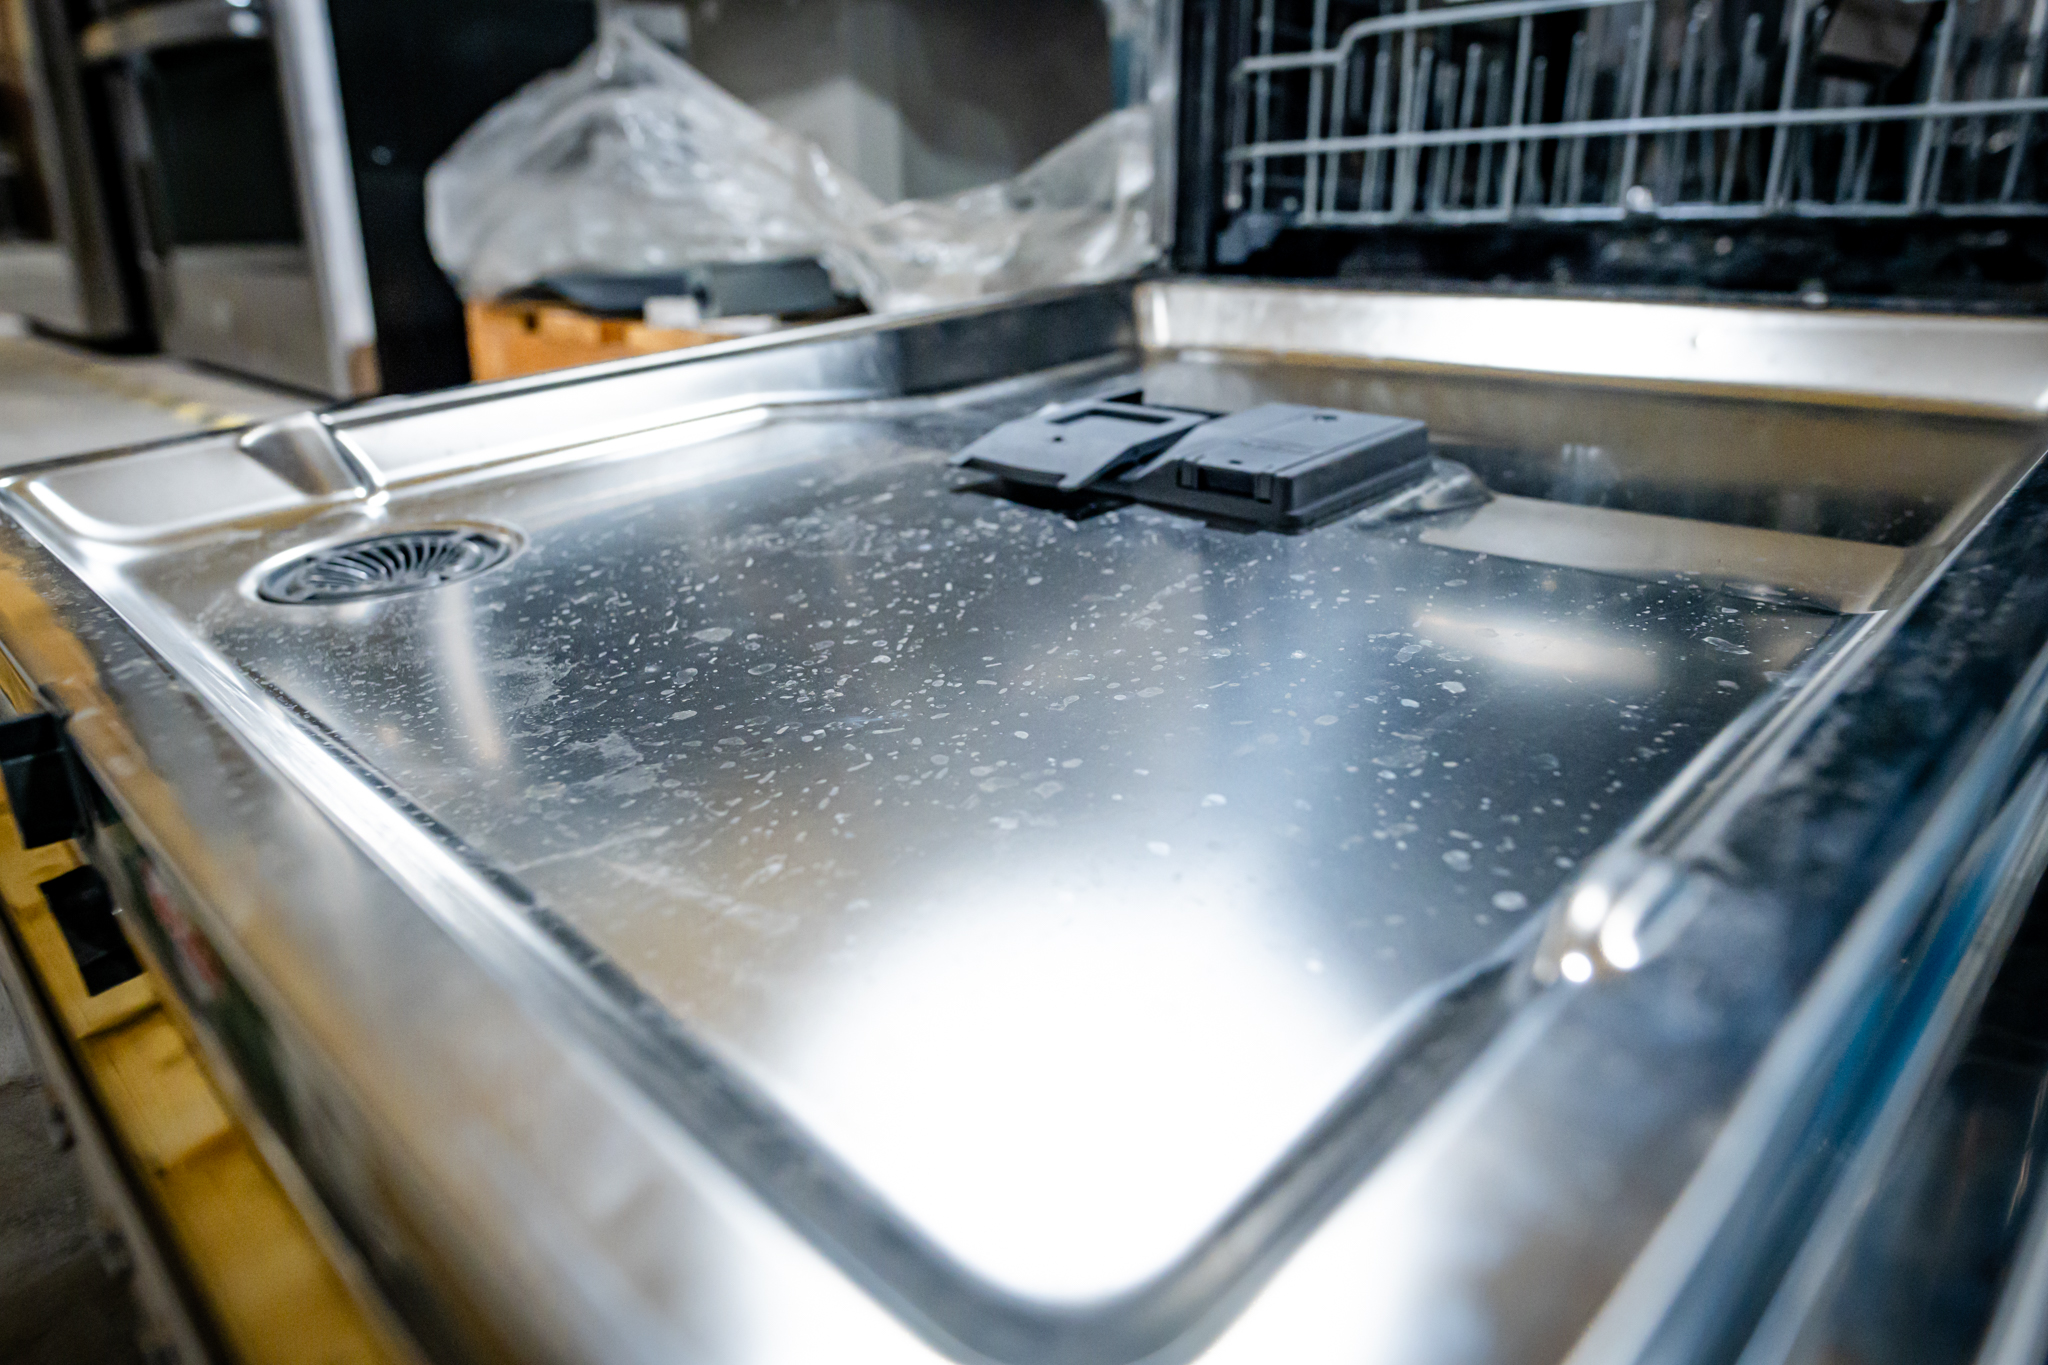
| Dishes Remain Filthy or Cloudy | Hard Water & Clogged Jets. Minerals are crippling wash performance. | We thoroughly clear the spray arm channels, test the water inlet valve, and restore heating element efficiency to guarantee clean results. |
| Water Standing in the Basin | Overwhelmed Drain Pump. Debris, shards, and scale frequently jam or burn out the pump motor. | We remove the basin, fully clear the filter and pump assembly, and replace the drain pump if the motor has failed from exhaustion. |
| The Machine is Leaking Water | Worn Gaskets or Failing Sump Seal. High heat cycles cause door seals to fail, or internal connections may loosen over time. | We conduct a pressure test, replace brittle door gaskets for a watertight seal, and inspect the level sensor (float switch) to prevent overfilling. |
Choose a Partner, Not Just a Provider
When you hire NEU Appliance Repair, you are choosing a local business rooted firmly in the Austin community. We back our work with serious guarantees: a **30-Day Service Call Warranty**, a **90-Day Labor Warranty**, and up to a **1-Year Warranty** on all installed parts.

Skip the high-stakes gamble of traditional appliance repair. Choose the local team invested in your satisfaction and committed to absolute transparency. For the smartest, most reliable Dishwasher Repair Austin has to offer, schedule your diagnosis with NEU.